
The identity of Bridled Fury Build in Albion Online is built on a single, core mechanic: stacking. Your entire playstyle revolves around building charges of either Sunder Armor on your enemy or Assassin Spirit on yourself, then unleashing them in a single, catastrophic blow with your Merciless Finish (E) ability. This creates a rhythm of combat that is both methodical and terrifyingly explosive. You are the specter that circles the fray, waiting for the perfect moment to erase a target from existence.
This guide will break down the Best Bridled Fury Builds for PvP and PvE, starting with ability selections, the gear and consumables build, and the rotation.
Ability Selections
The following table summarizes the key ability choices for different scenarios:
| Ability Slot | PvP Choice | PvE Choice | Key Reason |
|---|---|---|---|
| Q Ability |  Sunder Armor |  Deadly Swipe | Reliable single-target debuff / AoE stack building |
| W Ability |   Dash / Shadow Edge |  Chain Slash | Damage boost & mobility / AoE damage |
| E Ability |  Merciless Finish | – | Core scaling execute |
| Passive |  Aggressive Rush |  Life Leech | Max burst damage / Sustainability |
The PvP Build

| Slot | Item Options | Ability and reason why |
|---|---|---|
| Head |  Fiend Cowl |  Purge: Removes positive buffs from enemies. |
| Armor |  Assassin Jacket |  Ambush: Grants stealth for initiation or escape. |
| Shoes |  Any Plate Boots |  Rejuvenating Sprint: Heals and provides move speed bonus. |
| Cape | 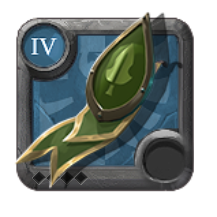 Lymhurst Cape | Energy management (solves mana issues). |
| Food |  Deadwater Eel Stew | Cooldown reduction and damage boost. |
| Potion |  Invisibility Potion | Used for safe resets or re-engaging. |
Rotation
- The Stalk: Position yourself using terrain or an Invisibility Potion. Your goal is to get close without being seen.
- The Lock-Down: Open with

Shadow Edge(W) to stun your target and pull yourself to them, or use Dash(W) to close the gap and activate your 15% damage buff. - The Setup: Immediately begin stacking
Sunder Armor(Q). Land three stacks on your target as quickly as possible. Weave with Sunder Armorand auto-attacks to build yourArmor Chargeand apply bleeding throughAggressive Rushpassive. - The Execution: The moment the third stack of
Armor Chargeis applied, press Merciless Finish(E). You will leap back, avoiding any point-blank retaliation, while unleashing a massive cone of damage that will often be lethal. - The Vanish: Use the backward leap from your E to create distance. Activate your plate Boots sprint to heal and run away, or use another mobility skill to disengage completely.
The Bridled Furys PvE Build

The goal shifts from assassination to efficient clearing. The core stacking mechanic remains, but your choices prioritize sustainability and area damage.
| Slot | Item Options | Ability and reason why |
|---|---|---|
| Head |  Mage Cowl |  Poison: for extra damage over time. |
| Armor | 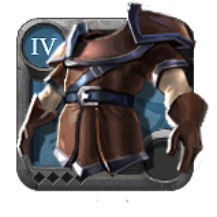 Mercenary Jacket |  Bloodlust: Provides healing based on your damage dealt. |
| Shoes | 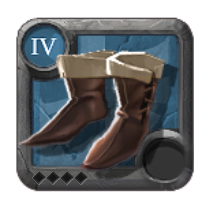 Any Leather Boots |  Refreshing Sprint: for cooldown reduction. |
| Cape |  Demon Cape | Extra AoE damage via lava pools. |
| Food |  Beef Stew | Consistent flat damage increase. |
| Potion |  Energy Potion | for energy issue |
The Rotation
- The Engage: Pull a pack of mobs and use

Chain Slash(W) to dash through them all. This deals high damage and makes you immune during the charge. - The Clear: For the main pack, use

Deadly Swipe(Q) to gain multipleAssassin Spiritstacks quickly. Follow up with auto-attacks and yourMerciless Finish(E) to cleave them down. - The Boss Kill: For single-target bosses, start with

Deadly Swipethen use Poisonfrom your helmet. Apply three stacks of Assassin Spirit, weave auto-attacks, and use Merciless Finishon cooldown for maximum damage. Use yourMercenary Jacketto heal back through Bloodlustability.
Final Thoughts
In conclusion, mastering this Weapon requires a deep understanding of your weapon abilities and passive selections, as these choices fundamentally shape your effectiveness. Whether you aim to swiftly eliminate player enemies in Black Zone or efficiently clear through waves of foes, the right build will enhance your performance and adaptability. By focusing on the explosive potential of Merciless Finish, you can tailor your approach to maximize impact.