
For over two decades, melee combat has been the visceral heart of RuneScape 3 (RS3), a satisfying symphony of clashing steel and triumphant cries that separates the warriors from the spectators. To step onto the battlefield is to embrace a legacy, but true mastery requires more than just a sharp blade—it demands the right weapon, a shrewd training plan, and the relentless spirit of a champion.
This RS3 guide is your personal forge, designed to temper your skills and outfit you with the best Melee Build. We will journey from your first hesitant swings to executing complex, bleed-based rotations that can topple strongest mobs, transforming you into an unstoppable force.
The Melee Trinity Skills
Melee build in RS3 is built upon three pillars, a trinity of skills that work in harmony to define your prowess on the battlefield.  Attack is your precision, determining your accuracy and unlocking the ability to wield ever-sharper weapons.
  Strength is your raw power, the force behind each blow that increases your maximum damage.
  Defence is your resilience, the skill that lets you don heavier armor and shrug off incoming attacks.
Your journey begins by understanding how these skills interact. While you can train them individually, many choose a balanced path, understanding that a warrior who cannot hit their target is as ineffective as one who cannot survive a counter-attack.
As you venture into the world, always check a monster’s weakness on their health bar. Exploiting a vulnerability to slash, crush, or stab is the first and most fundamental step to maximizing your damage and efficiency .
The Best Endgame Weapons
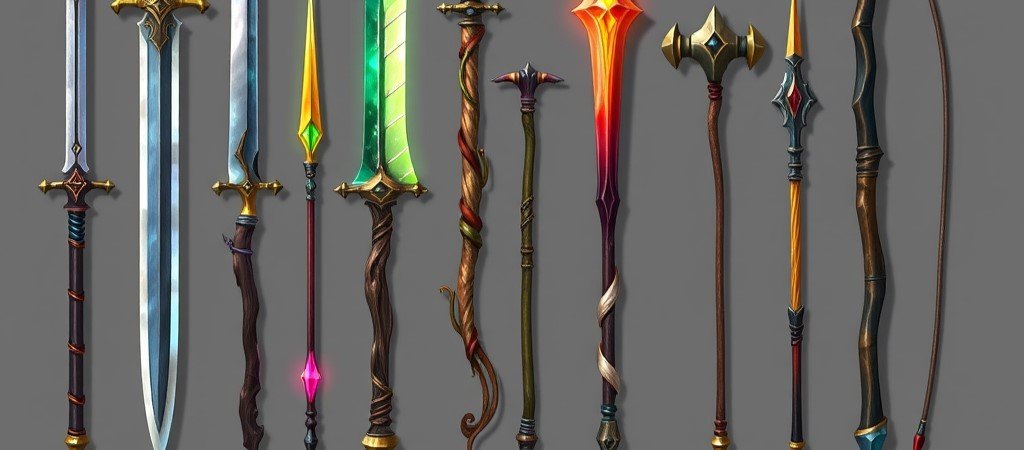
Choosing your weapon is a deeply personal decision, a balance of budget, ambition, and combat philosophy. The meta is dominated by powerful two-handed arms and swift dual-wield pairs, each with unique strengths.
Two-Handed
For those who believe in ending fights with a single, decisive blow, two-handed weapons are the answer.

- Ek-ZekKil: The Bleed King – Wielded by those who have conquered the fearsome TzKal-Zuk, this tier 95 sword is a masterpiece of pain. Its special attack, “Bleed Mastery,” is legendary. For 50% adrenaline, it cleaves your target for 110-140% ability damage and applies a devastating bleed that hits six times, with each tick dealing 5% more damage than the last.

- Masterwork 2H Sword: Accessible Power – If raw, uncomplicated power is what you seek, look no further. This tier 100 smithable weapon boasts the highest raw stats in the game—3100 accuracy and 2235 damage . Its relatively low cost of around 106M GP and the fact that it can be crafted with 110 Smithing make it the go-to recommendation for any new player aiming to break into end-game Player-vs-Monster (PvM) content .
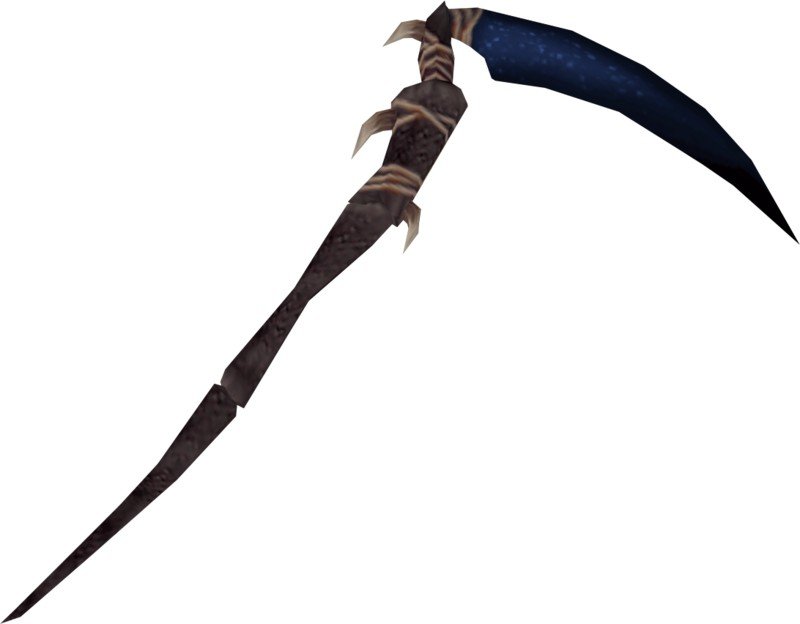
- Noxious Scythe: The Slayer’s Choice – A tier 90 classic that remains incredibly relevant. Its unique 2-tile attack range allows it to strike enemies in a 5×5 area, making it the undisputed champion for Slayer tasks and fighting groups of monsters . While it has been surpassed in single-target damage by newer weapons, its versatility and AoE capability ensure it remains a worthy investment of 361M GP for any serious melee enthusiast.
The table below compares top-tier two-handed options to help you decide.


Dual-Wield Weapons
For those who prefer a flurry of precise strikes, dual-wielding is the path.


- Dark Ice Shard & Sliver of Leng – As tier 95 weapons, this pair represents the peak of dual-wield melee. Their power comes from Primordial Ice stacks, which increase special attack damage and reduce its adrenaline cost. When both are equipped, your melee abilities deal a flat +24% additional damage from the Frostblades effect . Their special attack is a fantastic Area-of-Effect (AoE) cleave, making them devastating in multi-target situations. The main barrier is the immense cost, at roughly 1 billion GP for the set.
The Best Perks for Melee
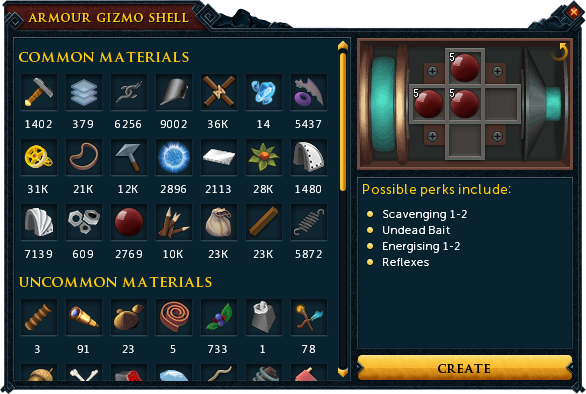
For a high-end melee Build in RS 3, the best Perks focus on maximizing damage output and survivability, primarily utilizing high-tier Ancient Invention perks.
Weapon Perks
The ideal weapon perks provide a mix of consistent damage boosts and area-of-effect potential.
| Slot | Perk Combination | Notes |
|---|---|---|
| Main-hand | Aftershock 4, Eruptive 2 | Triggers a damage explosion every 50,000 damage dealt to nearby enemies and provides a small flat damage boost. |
| Off-hand | Precise 6, Ruthless 1 | Increases minimum hit and adds a potential for bonus damage when killing enemies. Alternatively, Precise 6 alone is a solid option. |
| Two-handed | Precise 6, Ruthless 1 and Aftershock 4, Eruptive 2 in separate gizmos. | Use one gizmo for each combination on your 2h weapon. |
Note: Maintaining Aftershock stacks is important. Players often use an unperked weapon for special attacks (like a  Dragon Battleaxe) and an off-hand switch with a basic Aftershock 1, Mobile perk to keep the stacks going.
Armour Perks
Armour perks focus on utility, damage reduction, and adrenaline management.
| Slot | Perk Combination | Notes |
|---|---|---|
| Body | Biting 4 (+ optional secondary perk, e.g., Mobile or Venomblood) | Provides a significant increase to critical hit chance. |
| Relentless 5, Crackling 4 | Relentless saves adrenaline, while Crackling periodically deals damage to your target. | |
| Legs | Impatient 4, Devoted 4 | Impatient provides extra adrenaline, and Devoted offers high potential for damage reduction. |
| Invigorating 4 (+ optional secondary perk) | Boosts adrenaline gained from auto-attacks. |
Situational Perks
- Lunging 4: Highly valuable on a dedicated bleed weapon switch (like a Masterwork Spear of Annihilation) to boost the damage of abilities like Dismember and Slaughter.
- Flanking 4: Used on a specific off-hand switch weapon to significantly increase the damage of abilities like Backhand when attacking a target not facing you (often in a group PvM setting).
- Slayer Perks: For general slayer tasks, perks like Demon Slayer, Undead Slayer, or Genocidal can be added to your armour or combined with other perks for a 7% damage boost against specific enemy types.
The Training and Gear Progression (1-50)
Leveling your melee stats and your Gear Progression is a journey of patience and strategy. This plan will take you from a fledgling fighter to a level 50 warrior efficiently.
The Questing
The slowest part of any skill is the beginning, but in RuneScape, you can skip early levels through clever Questing. Before you engage in repetitive combat, complete these quests for massive experience rewards:
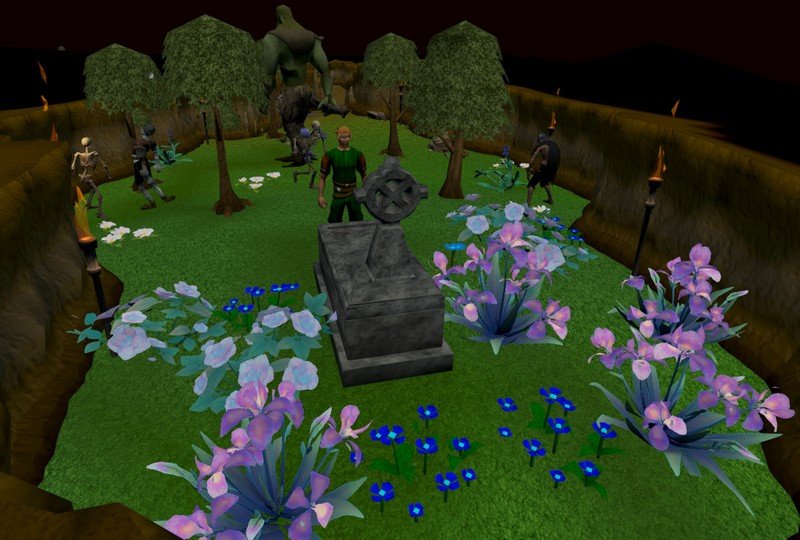
- Waterfall Quest: Instantly boosts
 Attack and
  Strength to level 30.


- Fight Arena & Tree Gnome Village: Provide substantial Attack XP.
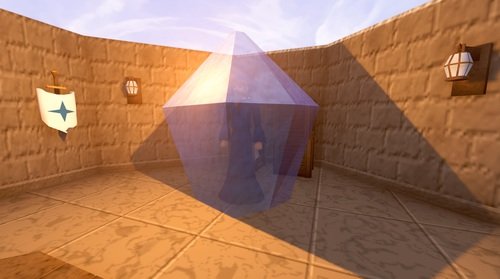
- Merlin’s Crystal: you need to complete this quest for the next step (Holy Grail Quest)
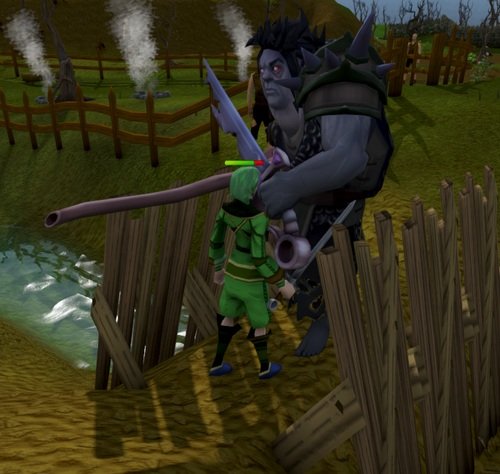
- Holy Grail: Grants enough
 Defence experience to reach level 30. and
  Prayer to level 28.
 Prayer to level 28.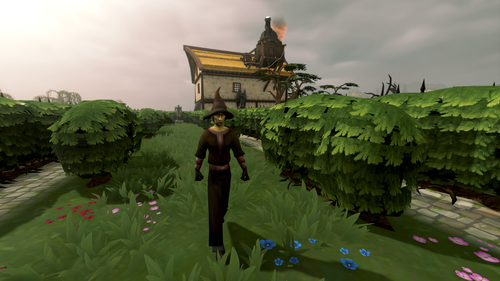
- Witch’s House: The gold standard for early health. It rewards 6,325 Constitution XP, which can instantly boost a fresh account to Level 23 Constitution.
Training From level 39 to 50 Combat Level
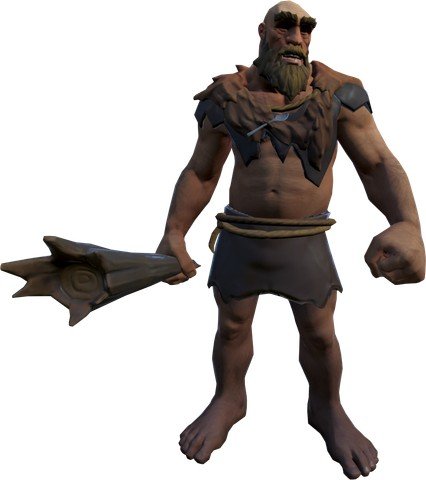
Training on Hill Giants from 39  Combat Level to 50 is a classic and efficient choice, especially for free-to-play (F2P) players. They are the weakest type of giant, making them a consistent source of experience with low combat risk.
Gear Progression (Levels 1–50)
| Level | Weapon | Armor Set | Accessories |
|---|---|---|---|
| 1–10 | 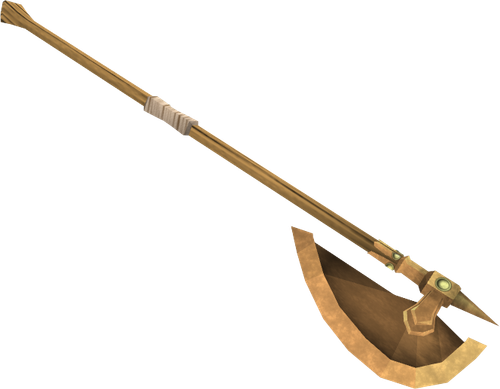 Bronze Halberd |  Bronze Armour |  Amulet of Strength |
| 10–20 |  Iron Halberd |  Iron Armour +1 | Amulet of Strength |
| 20–30 |  Steel Halberd |  Steel Armour + 1 | Amulet of Strength |
| 30–40 |  Mithril Halberd |  Mithril armour + 2 | Amulet of Strength |
| 40–50 |  Adamant Halberd |  Elite Black Armour | Amulet of Strength |
From Level 50 to 90
Skills Training

As your levels rise, so too must your ambition. Seek out monsters with high health and low damage to maximize AFK training.
- Levels 50-70: Fire Giants in the Waterfall Dungeon or Hellhounds in the Taverley Dungeon are excellent targets. They have high hitpoints and offer solid experience rates.
- Levels 70-90: This is the perfect time to integrate
 Slayer into your training. Assignments like Abyssal Demons offer fantastic combat and Slayer Experience simultaneously. For pure AFK combat, Bound Skeletons north of Fort Forinthry are aggressive and undead, allowing for long training sessions with a
  Salve Amulet.
 Slayer into your training. Assignments like
  Salve Amulet.
Gear Progression (Levels 50–90)
Gear progression from level 50 to 90 centers on two priorities: Power Armour for faster kills and Halberd-type weapons for massive Area of Effect (AoE) damage. Power armour is generally preferred over Tank armour because killing enemies faster reduces the damage you take more effectively than soaking it up.
| Level | Weapon | Power Armour Set | Essential Notes |
|---|---|---|---|
| 50-60 |  Rune Halberd |  Rock-shell Armour | Rock-shell is non-degrading and cheap. |
| 60-70 |  Dragon Halberd |  Dragon Armour | Dragon Halberd requires the Regicide Quest. |
| 70-80 |  Crystal Halberd |  Bandos Equipment | Crystal Halberd requires Roving Elves Quest; Bandos is non-degrading. |
| 80-82 |  Bane 2h Sword +4 |  Anima Core of Zaros | Anima Core does not degrade. |
| 82-90 |  Laniakea’s Spear | Anima Core of Zaros | Spear has Tier 90 damage and is incredible for AoE. |
| 90+ | Noxious Scythe |  Torva armour | The Scythe is the ultimate AoE training weapon; Torva armour requires 80  Constitution also. Constitution also. |
From Level 90 to 99+
Skills Training

You are now entering the realm of high-level combat. Your methods should reflect your growing power.
- Revenant Ghouls & Abyssal Beasts: These monsters offer some of the best combat experience in the game, exceeding 800,000 XP per hour for Revenant Ghouls and even reaching over 1 Million XP/hour at Abyssal Beasts with optimal gear.
- Vyrelords and Vyreladies in Darkmeyer: A premier training method, these creatures provide not only elite melee experience (~450k/hr) but also passive Firemaking and Prayer experience, making them a triple-threat for efficiency.
 Firemaking and
 BIS Endgame Gear
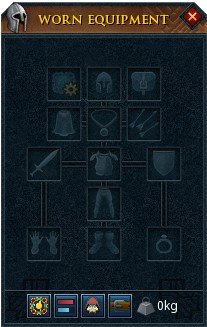
For warriors seeking the absolute best performance in high-level boss encounters, this is the Build to work towards. This configuration prioritizes maximum damage output through powerful “power armor”.
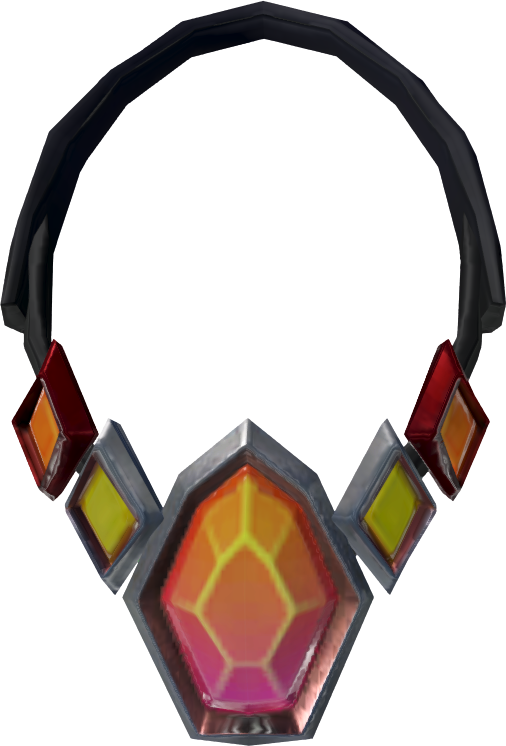
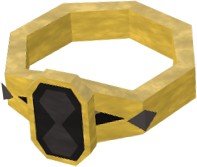
The table below outlines the Best-In-Slot (BiS) items for each slot. represents the ultimate goal for a melee build, offering the highest statistical advantages for taking on RuneScape‘s toughest challenges.


Understanding Your Gear Choices

Knowing what to wear is important, but understanding why will make you a better player. Here’s a deeper look at the philosophy behind the gear.
- Power vs. Tank Armor: You’ll notice the best setup uses Power Armour (like Trimmed Masterwork) over Tank Armour (like Achto Teralith). This is because, in most modern PvM situations, killing a boss faster is better than surviving slightly longer. Power armor provides significant Strength bonuses that directly increase your damage output, leading to quicker kills and, ironically, less damage taken overall.
- The Shield Niche: While you’ll primarily be using a two-handed weapon or dual-wielding, a shield is not for continuous use. It’s a “switch” you equip momentarily to use a crucial defensive ability like Resonance (which heals you from the next attack) or Barricade (which blocks all damage for a short time). The Malevolent Kiteshield is the best tool for this job when every point of protection counts.
- The Bleed Meta & Gloves of Passage: The current meta for top-tier melee damage revolves around stacking and extending “bleed” effects. While Trimmed Masterwork Gloves are your standard BiS, Gloves of Passage are a specialized upgrade. They increase the damage of your bleed abilities by 20%, making them a mandatory switch for any serious bleed rotation involving the Ek-ZekKil or Masterwork Spear of Annihilation
Potions, and Relics
A dead warrior deals no damage. Staying alive is paramount, and RS3 offers a robust toolkit for sustainability.
- Healing: Beyond simple food, utilize the Vampyrism Aura or
 Scrimshaw. The Saradomin G-sword’s special attack or passive effect can provide significant healing and prayer restoration. Unlocking the Soul Split prayer is a game-changing milestone, healing you for 10% of all damage you deal.
 - Potions:
 Overload potions are non-negotiable for serious combat. They continuously boost your Attack, Strength, Defence, and other combat stats every 15 seconds, ensuring you are always fighting at your peak potential.
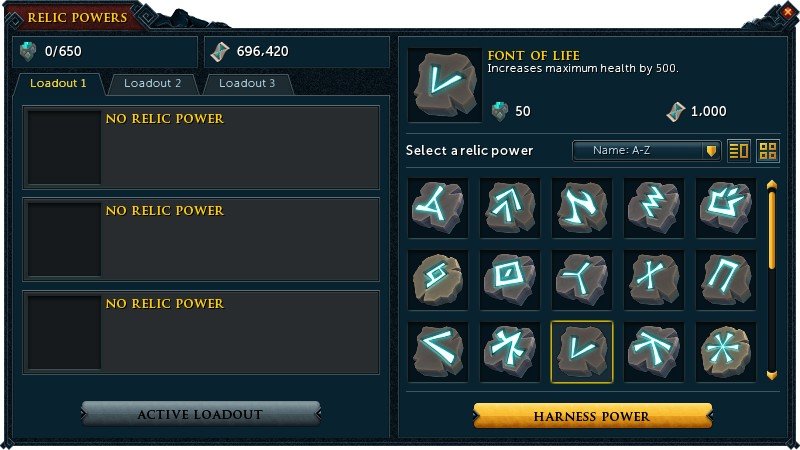
 - Relic Powers: The Archaeology skill provides powerful passive buffs. Essential relics for melee include Fury of the Small (more adrenaline from basics), Persistent Rage (generate adrenaline outside combat), and Berserker’s Fury (increased damage at low health).
 Vampyrism Aura or
  Scrimshaw. The Saradomin G-sword’s special attack or passive effect can provide significant healing and prayer restoration. Unlocking the Soul Split prayer is a game-changing milestone, healing you for 10% of all damage you deal.
 Overload potions are non-negotiable for serious combat. They continuously boost your Attack, Strength, Defence, and other combat stats every 15 seconds, ensuring you are always fighting at your peak potential.
 Archaeology skill provides powerful passive buffs. Essential relics for melee include
  Fury of the Small (more adrenaline from basics),
  Persistent Rage (generate adrenaline outside combat), and
  Berserker’s Fury (increased damage at low health).
Melee Tactics
True mastery is not just about your gear and levels; it’s about how you use them.
- The Bleed Meta: The highest melee damage rotations revolve around stacking damage-over-time effects. The core combo involves using the Ek-ZekKil’s special attack, then extending its duration with abilities like Dismember, Blood Tendrils, and the Masterwork Spear of Annihilation . Watching a boss’s health bar rapidly deplete from multiple, powerful bleeds is the pinnacle of melee gameplay.
- Special Attack Switching: High-level PvMers often bring multiple weapons to leverage different special attacks. A common tactic is to have a Zaros Godsword (ZGS) in your inventory. You switch to it, use its “Black Hole” special to create a damage-boosting zone, then switch back to your primary weapon to unleash your abilities with a +25% damage increase .
- Optimal Perks and Ability Bars: Use the Revolution++ combat mode to automatically trigger your basic and threshold abilities, allowing you to focus on positioning, prayer switching, and manual inputs for ultimates and special attacks. Unlocking Invention and adding perks like Precise 6 and Aftershock 4 to your weapons and armor will provide a significant boost to your damage output .
Final Thoughts
Your journey from a novice adventurer to a master of melee combat will be long and challenging, but few things in RuneScape are as rewarding as standing over a fallen boss, your blade still singing its deadly song. The world of Gielinor is filled with dangers, but with this guide, you are now equipped to face them all.