The Bloodmoon Staff stands as one of the best weapons in Albion Online, dominating both the solo and small-scale meta. As a member of the Shapeshifter family, it offers a unique “two-in-one” playstyle, allowing you to cycle between a tactical human caster and a ferocious, lifestealing werewolf.
This albion guide will walk you through everything you need to master this weapon, from choosing the right gear like the Mercenary or Hellion Jacket, to perfecting your transformation rotations and ability selections for every combat scenario.
Best Bloodmoon Staff Solo Build
Weapon Ability Selections
Human Form:
- Q –

Unstable Projectile: Your primary spam ability. It’s cheap, has no cooldown, and generates a Shift Charge on hit. Use this constantly to keep your charge generation ticking and to apply pressure. - W –

Distortion: Essential for solo play. It creates a zone that deals damage over time and slows enemies, allowing you to easily hit your Qs and safely build the 3–5 charges needed for a strong transformation.. - E –

Werewolf Transformation: Your ultimate weapon. You don’t cast this from a full health bar. You build charges, wait for the opportune moment, and transform to finish the fight. - Passive –

Innate Power: After dealing damage in human form, apply one Shift Charge on you.
Werewolf Form:
Passive – ![]()
Frenzied Slashes: Every auto-attack increases your attack speed, stacking up to 5 times. This turns you into a whirling dervish of damage, melting through health bars.
Q – ![]()
Tear Open: Your main damage ability. In a perfect world, you always consume a Shift Charge with this to create the Blood Pool. This pool is your sustain—dashing through it to consume it will heal you and grant a massive movement speed boost, allowing you to stick to targets or disengage.
W – ![]()
Rip Through: Your execute and mobility tool. This dash deals massive damage and, crucially, increases your attack damage by 150% for 3 seconds.
The Gear Build
This build is optimized for solo play in Corrupted Dungeons and the Mists, where its dueling potential and sustained damage truly shine.
| Slot | Item | Explanation |
|---|---|---|
| Helmet |  Specter Hood | Flash of Insight: resetting your Jacket cooldown for double healing. |
| Armor | 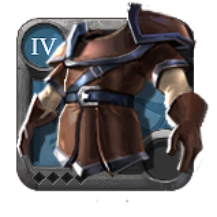 Mercenary Jacket | Bloodlust: allows you to heal for every hit you land. Because the Bloodmoon Staff has fast auto-attacks and area-of-effect (AoE) damage |
| Boots | 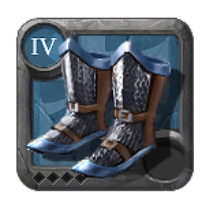 Any Plate Boots | Your mobility and execute. The Rejuvenating Sprint provides crucial healing, while the Wanderlust passive aids in chasing or escaping. |
| Cape |  Avalonian Cape | Synergizes perfectly with your high attack speed in werewolf form, providing consistent extra AoE damage. |
| Food | 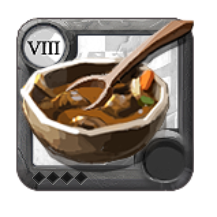 Beef Stew | bonus damage. Simple, effective, and reliable. |
| Potion | 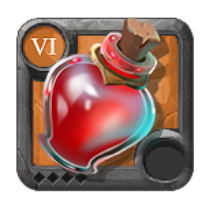 Healing Potion | Emergency Health |
Combat Rotation & Strategy

Human Setup (Building Charges)
Before you transform, you must hit enemies to gain Shift Charges. Transforming with 3–5 charges is ideal for maximum effectiveness.
- Step 1: Open with
Distortion(W) to slow the enemy and get your first 1–2 charges. - Step 2: Use
Unstable Projectile(Q) twice. - Step 3: Activate Mercenary Jacket (

Bloodlust) right before you transform if you are already at low health. - Step 4: Press E (
Werewolf Transformation).
Wolf Execution (Damage & Sustain)
In werewolf form, your damage and healing are at their peak.
Step 4 (Repeat): Alternate between W (dash/buff) and Q (heal/speed) until your charges or transformation time run out.
Step 1 (The Gap Closer): Use ![]()
Rip Through (W) to dash through the enemy. This increases your follow-up damage by 150%.
Step 2 (The Burst & Heal): Immediately follow with ![]()
Tear Open (Q). This consumes a charge to create a Blood Pool that heals you and gives you a 40% move speed boost.
Step 3 (Sustain): Spam auto-attacks. Thanks to your werewolf passive, each hit increases your attack speed and triggers your jacket’s healing faster.
The Group Build
Weapon Ability Selections
In a group, you focus more on protecting allies and setting up “clumps” for your team’s burst.
- Q-Ability:

Reality Fissure– This is better for groups than
Pulse Shock. It deals damage in a line and is more reliable for hitting multiple enemies at once to gain Shift Charges quickly. - W-Ability:

Positional Drift(The Pull) – This is the recommended choice for group content. It allows you to pull up to 5 enemies into a single spot and root them, letting your group hit them with all their big spells at once.
The Gear Build
| Slot | Item | Purpose in Group |
|---|---|---|
| Armor |  Hellion Jacket | Life Steal Aura: dealing damage and heals you based on the number of enemies within its radius. |
| Helmet | 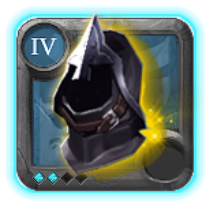 Stalker Hood | Mortal Agony: Lowers damage resistances of enemies in a clump to maximize your burst. |
| Boots | Any Plate Boots | Provides Rejuvenating Sprint for health and mobility to dive or retreat. |
| Cape | 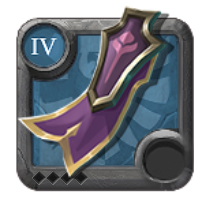 Thetford Cape | Adds AoE chain lightning to your fast werewolf auto-attacks. |
| Food | 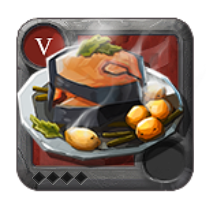 Roasted Clearhaze Snapper | It provides life steal (heals you on every hit) and increases your Max HP. |
| Potion | Healing Potion | Emergency Health |
Combat Rotation & Strategy
- Charge & Pull (Human Form)
- Stay near your frontline tank. Use
Reality Fissure(Q) to hit multiple enemies at once for fast Shift Charges. - Wait for the “engage” signal. Use
Positional Drift(W) to drag 2–5 enemies together and root them. This creates the perfect target for your next move.
- Stay near your frontline tank. Use
- Phase 2: The Transformation Dive
- Transformation (E): Transform into the Werewolf once you have 3–5 charges.
- W (

Rip Through): Dash through the clumped enemies. This deals AoE damage and buffs your next attacks by 150%. - Q (

Tear Open): Follow up immediately to drop a Blood Pool on the enemies. This ensures you are constantly healing while standing in the chaos.
- Phase 3: The Sustain Peak (Hellion Timing)
- Wait for Pressure: Do not pop your Hellion Jacket at 100% health. Wait until you have taken some damage (around 60–70% HP).
- Life Steal Aura: Activate the jacket while you are in the middle of the enemy group. Because the aura heals you more for every enemy it hits, standing in a clump of 3+ players will give you massive healing.
- Synergy: While the aura is active, keep using your Wolf Q (
Tear Open) and auto-attacks. The combined lifesteal from the jacket, your wolf passive, and your blood pools makes you incredibly hard to kill.
Final Thought
By mastering the balance between building Shift Charges and timing your transformation, you become a threat that is difficult to predict and even harder to kill. Whether you are using the Mercenary Jacket for solo dominance or the Hellion Jacket for group brawls, the weapon’s inherent lifesteal ensures you are always a factor in the fight.