Flying a Dominix is an exercise in strategic patience and overwhelming persistence. Unlike ships that deliver their payload in a single, violent volley, the Dominix wins through attrition. Its power is not in its guns, but in the relentless, swarming intelligence of its drone companions. This vessel embodies the Gallente belief in versatility and endurance over specialized fragility. It doesn’t need to be the flashiest or the fastest on the field; it simply needs to outlast and out-adapt its opponents, grinding them down through sheer staying power and an ever-changing cloud of drone fire.
The Dominix’s core identity is built around its unparalleled flexibility. Its bonus structure is a drone operator’s dream:
- 10% bonus to Drone hitpoints and damage per Gallente Battleship level
- 7.5% bonus to Drone optimal range and tracking speed per Gallente Battleship level
This is complemented by a generous slot layout (6 high, 5 mid, 7 low) and a massive 125Mb drone bandwidth with a 375m³ bay, allowing it to field a full flight of heavy or sentry drones while carrying multiple backup flights for any situation . Whether you’re methodically clearing Level 4 security missions or holding a nullsec anomaly against relentless pirate attacks, the Dominix offers a platform that can be configured to handle virtually any challenge New Eden throws your way. It is the ultimate teacher of drone warfare, and a battleship that rewards thoughtful piloting over reflexive aggression.
Essential Skills for Dominix Pilot

Before you entrust your ISK and safety to this Gallentean marvel, you must ensure your capsuleer skills are a solid foundation. The Dominix is accessible, but truly unleashing its potential requires a focused mind.
Drone & Ship Skills:
- Gallente Battleship (IV/V): This is non-negotiable. Level IV is functional, but Level V maximizes the crucial drone damage and application bonuses that define the ship .
- Drones (V): The absolute cornerstone of your power. This skill unlocks heavy drones and increases the number of drones you can control simultaneously .
- Drone Interfacing (IV/V): This is your primary damage multiplier. Each level provides a 20% increase to all drone damage, making Level V a massive 100% bonus to your base drone DPS .
- Sentry Drone Interfacing (IV/V): If you plan to use the premier sniper build, this skill is critical for maximizing the range and damage of your stationary drone platforms .
- Drone Navigation & Sharpshooting (IV): These skills improve drone speed and optimal range, crucial for ensuring your drones can engage quickly and effectively .
Defensive and Support Skills:
- Repair Systems (IV+): Directly improves the effectiveness of your armor repairers, which are the backbone of most Dominix tanks .
- Energy Management (IV) & Energy Systems Operation (V): The Dominix is often capacitor-hungry, especially with active tanks and certain high-slot choices. These skills are vital for stable operation .
- Hull Upgrades (V): Allows for the use of Damage Control II and improves overall armor hitpoints, providing a crucial safety buffer .
- Targeting Skills: Improved lock speed and range are not just for you—they determine your drone control range, which is a key tactical parameter .
Fitting Your Dominix: Two Builds for PvE
The Dominix’s slot layout is a canvas for creativity, but successful fits follow a core principle: balance your tank with your drone damage. Below, we detail two of the most effective and distinct PvE builds.
Sentry Sniper Dominix Build
This build is the pinnacle of safe, methodical, and intelligent PvE. It leverages a Micro Jump Drive and long-range drones to eliminate threats from over 100km away, where most NPCs cannot effectively retaliate. It is perfect for solo pilots in Level 4 missions and is remarkably low-stress once mastered.
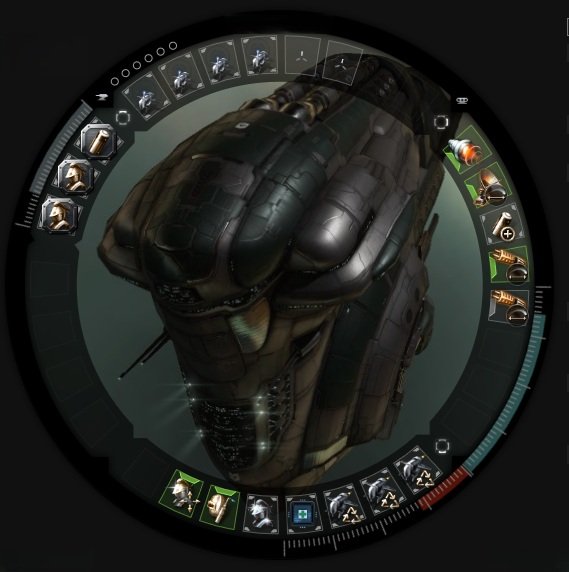
Sentry Sniper Dominix Fit
 Drone Link Augmentor II (for maximum drone control range)
  Large Micro Jump Drive
 Sensor Booster II (with Targeting Range Scripts)
  Large Cap Battery II
 Drone Damage Amplifier II
 Damage Control II, 1x
  Reactive Armor Hardener I
 Large Semiconductor Memory Cell I
 Warden II /
  Curator II (choose based on range and enemy)
 Hobgoblin II (for close-range frigate defense)
Fitting Philosophy and Tactical Execution:
This fit is a masterpiece of range control and projection. The core tactic is to warp into a site, immediately activate your Micro Jump Drive to leap approximately 100km away from the enemy blob, and then deploy your sentry drones. From this position, you are effectively untouchable. Your sentries, boosted by the tracking links and drone link augmentors, will methodically dismantle the enemy fleet before they can even get within firing range.
- Tactical Execution:
- Deploy and Jump: Upon landing, launch your Mobile Tractor Unit (MTU) to collect loot, then immediately activate your MJD. While it spools up, align and lock primary targets .
- Sniper’s Perch: Once you land at your new position, deploy your sentry drones. Amarr Wardens offer the longest range for sniping, while Minmatar Bouncers
- offer different range/tracking balances for closer engagements .
- Orchestrate the Kill: Use your extreme optimal range to eliminate the most dangerous targets first. Your Sensor Boosters ensure you can lock targets at distance, and your Tracking Links ensure your drones can hit them .
- Recall and Reposition: The moment a wave is cleared, recall your drones. If another wave spawns on top of you, your MJD should be nearly off cooldown, allowing you to jump away again and re-establish your sniper’s perch .
Heavy Drone Brawler Dominix Build
For pilots who want to feel the heat of battle and maximize clear speed in more compact sites, this fit delivers high, sustained DPS at close range. It relies on a powerful active armor tank to outlast the incoming damage, making you an immovable object on the battlefield.
Heavy Drone Brawler Dominix Fit
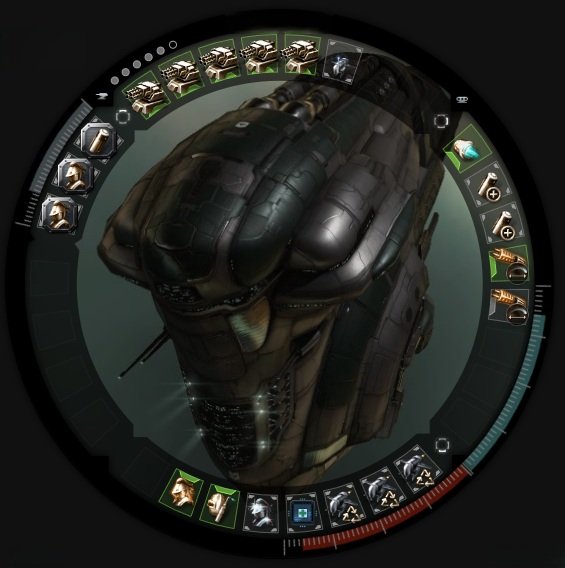
 Dual 650mm Repeating Cannon II / 425mm Railgun II
 Drone Link Augmentor I
 100MN Afterburner II
 Large Armor Repairer II
 Multispectrum Energized Membrane II, 1x
  Faction-Specific Armor Hardener I
 Large Auxiliary Nano Pump I
 Large Capacitor Control Circuit I
 Ogre II /
  Praetor II (choose based on enemy resistances)
 Fitting Philosophy and Tactical Execution:
This build is all about sustained, high-damage brawling. It can push around 1000 DPS with good skills, allowing you to obliterate sites with brutal efficiency. The active armor repairer, supported by specific hardeners and a damage control, creates a robust regenerative tank that can handle significant damage.
- Tactical Execution:
- Aggressive Engagement: Warp into sites at 10-20km. Immediately activate your Afterburner and begin orbiting a central target or the MTU at around 15km.
- Swarm and Tank: Deploy your heavy drones (e.g., Ogres for kinetic/thermal damage) and set them on primary targets. Keep your armor repairer and hardeners running constantly.
- Target Priority: Your high DPS is part of your tank. Focus fire on the highest-DPS enemy ships first to reduce incoming damage as quickly as possible. Use your light drones and tracking links to apply damage to smaller, faster frigates that enter the fray.
- Capacitor Awareness: This fit is more capacitor-intensive than the sniper. Monitor your capacitor levels closely to ensure your repairer never stops cycling.
Final Thoughts
The Dominix represents something precious in New Eden—a battleship that respects your strategic choices while providing a genuine path to nearly all PvE content. It welcomes capsuleers of all skill levels, offering a true battleship experience that emphasizes adaptability over specialization. This versatility doesn’t come at the expense of effectiveness; rather, it provides a platform for learning and experimentation that can shape your entire EVE Online journey.
Flying a Dominix teaches fundamental skills that transfer to every other drone boat: range management, drone control, damage type selection, and fitting philosophy. The lessons learned while piloting this adaptable vessel will serve you well whether you progress to specialized faction battleships or mighty carriers. It is more than a ship; it is a mentor.