In the chaotic trenches of Aeternum‘s wars, between the blinding flashes of Void magic and the hail of musket fire, there is a point of absolute, unbreakable calm. It’s the warrior who plants their flag in the carnage and declares, “You shall not pass.” This is the essence of the Sword & Shield and Greatsword. You are not a mere skirmisher; you are the tide-turner, the line-holder, the relentless force that breaks enemy charges and leads your company to victory. This build merges the immovable object defense of the Sword and Shield with the unstoppable force offense of the Greatsword, creating a versatile frontline titan capable of controlling the flow of any battle.
Attribute Distribution

Both weapons scale primarily with Strength (90% for SnS, 80% for GS), but the Greatsword also scales equally well with Dexterity (80%). This allows for versatile “split stat” builds that capitalize on critical hit chance and attack speed.
| Build Type | Strength | Dexterity | Constitution | Key Breakpoints & Purpose |
|---|---|---|---|---|
| PvE Main Tank | 300 | 50 | 200+ | 300 STR grants more damage. 200 CON provides a massive HP pool and defence boost for raid survivability. |
| PvE DPS / Off-Tank | 250 | 200 | 150 | 200 DEX increases backstab and headshot damage. 150 CON is the “sweet spot” for survivability in mutated dungeons. |
| PvP Heavy Bruiser | 300 | 100 | 200 | 100 DEX gives +5% critical hit chance. and more damage. |
| PvP Light Assassin | 150 | 350 | 100 | 350 DEX maximizes burst damage. Lower CON is offset by high mobility (Leaping Strike) and GS defensive stances. |
If you are using the 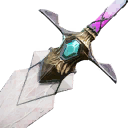 Serenity Artifact Greatsword, you should prioritize a split between Strength and Dexterity (e.g., 250/250) to maximize its unique scaling properties while maintaining enough Constitution to survive the Onslaught Stance penalty.
Weapon Masteries
Sword and Shield Mastery
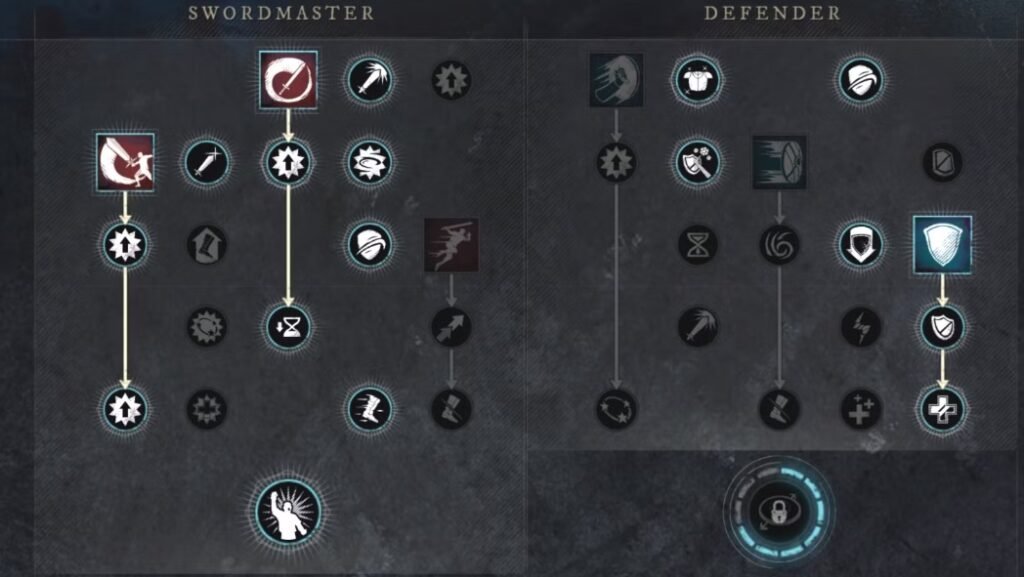
Your Sword and Shield is your dueling kit, your survival tool, and your engagement weapon. It’s what you use to lock down dangerous opponents, absorb immense pressure, and set up kills for yourself and your team.
Ability Breakdown:
 Shield Bash: This is your premier crowd control tool. A quick, reliable stun that interrupts enemy abilities and leaves them vulnerable. In a duel, a successful Shield Bash is often a death sentence for your opponent, as it allows you to land a free heavy attack or two before seamlessly swapping to your Greatsword for the finisher. The upgrade path is straightforward, focusing on increasing its effectiveness and utility.
- Leaping Strike: This is your engagement and mobility tool. It closes gaps surprisingly well and, when it lands, applies a slow effect that makes it difficult for enemies to escape. The “Empowering Leaping Strike” perk is a must-have, as it significantly boosts your damage after you land the ability, setting up your burst combo.
- Defiant Stance: This is your “oh no” button and a phenomenal team-support ability. It grants you a damage reduction and, with a Carnelian gem, becomes a powerful taunt in PvE. In PvP, popping Defiant Stance as the enemy team commits to a fight can make you virtually unkillable for a few critical seconds, buying your healers precious time.
 Shield Bash: This is your premier crowd control tool. A quick, reliable stun that interrupts enemy abilities and leaves them vulnerable. In a duel, a successful Shield Bash is often a death sentence for your opponent, as it allows you to land a free heavy attack or two before seamlessly swapping to your Greatsword for the finisher. The upgrade path is straightforward, focusing on increasing its effectiveness and utility.
 Leaping Strike: This is your engagement and mobility tool. It closes gaps surprisingly well and, when it lands, applies a slow effect that makes it difficult for enemies to escape. The “Empowering Leaping Strike” perk is a must-have, as it significantly boosts your damage after you land the ability, setting up your burst combo.
 Defiant Stance: This is your “oh no” button and a phenomenal team-support ability. It grants you a damage reduction and, with a Carnelian gem, becomes a powerful taunt in PvE. In PvP, popping Defiant Stance as the enemy team commits to a fight can make you virtually unkillable for a few critical seconds, buying your healers precious time.
Sword and Shield Passive Priorities
| Priority | Passive Name | Effect |
|---|---|---|
| Critical |  Leadership | Passively boost your party’s damage by 10% while holding a sword. An incredible support passive. |
| High |  Tactical Strike | Reduces cooldowns on a successful heavy attack. Great for ability uptime. |
| High |  Restoration | When Defender’s Resolve ends, heal for 30% of your base health. |
| Medium |  Defensive Training | Grants Fortify on block, increasing your armor. |
Greatsword Mastery
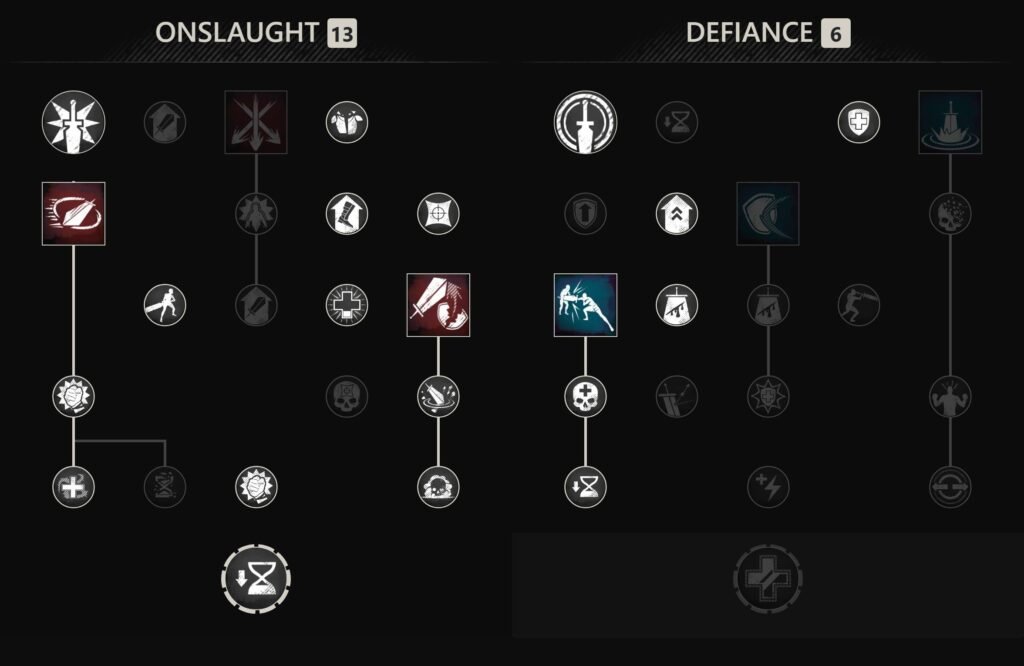
The Greatsword is your executioner’s blade. When you swap to it, the goal is simple: deal catastrophic damage. Its unique mechanic, the Stance System, is what gives the weapon its incredible depth. Using an ability from the Onslaught tree puts you in Onslaught Stance, increasing your damage dealt and taken, while charging your heavy attacks twice as fast. Using a Defiance ability puts you in Defiant Stance, reducing damage dealt and taken, and allowing you to block while charging heavy attacks .
Ability Breakdown:
- Relentless Rush: This is your primary tool on the Greatsword. It’s a gap-closer, a slow applier, and a root in Onslaught Stance. Use it to stick to targets after engaging with Leaping Strike, or to quickly disengage from a losing fight.
- Steadfast Strike: A brilliant ability that offers a stagger, a pull, and stamina Restore. It’s perfect for yanking enemies back into the fight after they try to escape your onslaught.
- Calamity Counter: This ability is the pinnacle of high-skill expression. When activated, you enter a blocking stance for 2 seconds. If you are hit, you unleash a powerful counter-attack that scales in power and effect based on how many hits you blocked. A well-timed Calamity Counter can not only negate a deadly enemy combo but also reverse the entire momentum of a fight with a single, devastating blow .
 Relentless Rush: This is your primary tool on the Greatsword. It’s a gap-closer, a slow applier, and a root in Onslaught Stance. Use it to stick to targets after engaging with Leaping Strike, or to quickly disengage from a losing fight.
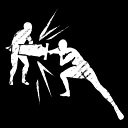 Steadfast Strike: A brilliant ability that offers a stagger, a pull, and stamina Restore. It’s perfect for yanking enemies back into the fight after they try to escape your onslaught.
 Calamity Counter: This ability is the pinnacle of high-skill expression. When activated, you enter a blocking stance for 2 seconds. If you are hit, you unleash a powerful counter-attack that scales in power and effect based on how many hits you blocked. A well-timed Calamity Counter can not only negate a deadly enemy combo but also reverse the entire momentum of a fight with a single, devastating blow
 Greatsword Passive Priorities
| Priority | Passive Name | Effect |
|---|---|---|
| Critical |  Unstoppable Cuts | Grants Grit during Crosscut. |
| High |  Cross Execution | Dramatically increases the damage of Crosscut’s final hit on below 50% health targets. |
| High |  Arrow Deflection | Allows you to block ranged attacks. A must-have for PvP to close the distance on bow and musket users. |
| Medium |  Heavy Blade | Charged heavy attacks gain 15% armor penetration. Makes your heavy hits even more threatening. |
Gear, Perks, and Heartrune
Best-in-Slot Perks and Gear
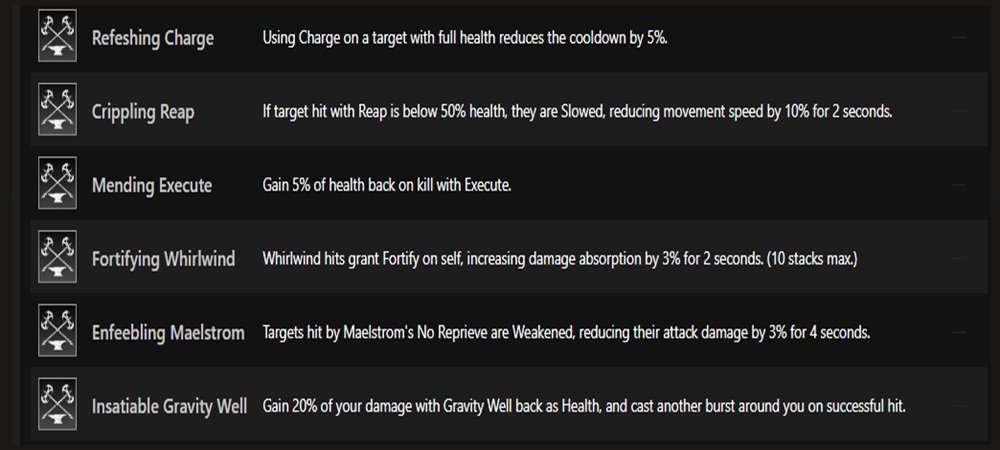
Gear Perks are what transform a good build into a legendary one. They provide synergistic effects that enhance your core gameplay loop.
- Sword Perks: Prioritize a Sword with “Refreshing Move” (cooldown reduction on hit) and “Keen” or “Keenly Empowered” for increased critical chance and damage. The third perk can be a skill-specific one like “Empowering Leaping Strike.”
- Shield Perks: Look for a Round Shield for a more offensive approach or a Kite Shield for a balance of offense and defense. The key perk is “Sturdy” to reduce stamina damage while blocking, followed by “Sturdy Energy” for even more blocking efficiency.
- Greatsword Perks: Your Greatsword is a stat stick of destruction. “Thwarting Strikes” (increased damage while you have active Grit) is arguably the best-in-slot, as it directly counters other melee bruisers. “Refreshing Move” is again fantastic, and “Plagued Strikes” can be a game-changer by reducing the effectiveness of enemy healing.
- Armor Perks: Your armor should be a curated collection of defensive and utility perks.
- Resilient: Reduces critical damage taken. Non-negotiable for PvP.
- Freedom: Reduces crowd control duration. Having 3-4 stacks makes you incredibly difficult to lock down.
- Refreshing: Reduces all cooldowns, allowing for more ability spam.
- Elemental Aversion: Provides strong protection against magical damage, your primary weakness.
- Skill-Specific Perks: “Relentless Freedom” (makes Relentless Rush cleanse roots and slows) is a top-tier mobility perk.
Armor Perk Priority
| Perk Name | Effect | Priority |
|---|---|---|
| Resilient | Reduces critical damage taken. | Highest |
| Freedom | Reduces crowd control duration. | Highest |
| Refreshing | Reduces all cooldowns. | High |
| Elemental Aversion | Reduces elemental damage. | High |
| Relentless Freedom | Relentless Rush removes roots/slows. | Medium |
Jewelry and Heartrune Selection
- Amulet: Look for Health, Divine (increases potion and self-healing effectiveness), and Stamina Recovery or Empowered. The “Champion’s Amulet” from PvP is an excellent and accessible option.
- Ring: Smooth Bone Ring remains a best-in-slot contender with its Keen Awareness, Hearty (essential for an extra dodge), and Leeching for sustain.
- Earring: Doom’s Chance Earring is a fantastic goal, offering Refreshing Toast (faster potion cooldowns), Regenerating (passive health regen), and a pure lifesaver.
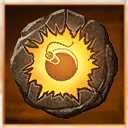
- Heartrune: The Brutal Heartrune of Detonate is your go-to for offensive plays, adding a massive burst of area damage to your engagement. For a more defensive, point-hold style, the Stalwart Heartrune of Stoneform provides a powerful cleanse and damage reduction, making you even more unkillable for a short time.
Rotation and Positioning
The Perfect Engagement Sequence:
- Opening Gambit: Position yourself using terrain. Don’t just run headfirst; use hills and structures to mask your approach. Identify your target—often a backline healer or damage dealer.
- Initial Lockdown: Engage with Leaping Strike from your Sword and Shield, aiming to land behind your target for the extra damage. Immediately follow up with Shield Bash to stun them. This initial stun is your most important window.
- The Stance Swap: As the stun connects, weapon swap to your Greatsword. You are now in Onslaught Stance, dealing increased damage.
- The Burst Combo: Use Relentless Rush to apply a root and slow, ensuring they cannot escape. Follow up with a charged heavy attack to the back if possible, then use Steadfast Strike to pull them back in and heal yourself. If you have Crosscut slotted, this is the moment to use it for a massive damage finisher.
- Adapt and Execute: If the target is still standing, your Calamity Counter should be ready for their retaliation. Use it to negate their counter-attack and finish them with the powerful riposte. If the fight turns sour, use Relentless Rush or a dodge to create space and swap back to your Sword and Shield to reset.
Positioning:
Your role differs based on the game mode. In Outpost Rush, you are a flanker and a backline harasser. Your job is to create pressure on the enemy’s squishy targets, forcing them to split their attention. In Wars, you are often part of the main “clump” fight on the point, using your area-of-effect abilities and crowd control to create space for your team. Your Defiant Stance can be used to help your entire group survive enemy “bomb” attacks.
Always be aware of your stamina. Blocking is a powerful tool, but a broken guard leaves you stunned and vulnerable. Weave in blocks between attacks to mitigate incoming damage without exhausting your bar.
Final Thoughts
The Sword & Shield and Greatsword is more than a build; it’s a playstyle defined by resilience, adaptability, and overwhelming force. It rewards game knowledge, timing, and the courage to stand where the fighting is thickest. You are the anchor of your team, the rock upon which enemy assaults break.