
Mastering the player-driven economy of Albion Online requires a strategic blend of real-time market intelligence and high-stakes survival tactics. To begin flipping effectively, you must prioritize accurate data by using the Travel Planner to visit major city marketplaces personally. By traveling “naked” with an empty inventory and no equipped gear. you can teleport between the Royal Cities for free, which is particularly vital for reaching Caerleon, where fast travel with any luggage is strictly prohibited. This guide will walk you through the essential strategies for mastering market flipping, from gathering real-time price data to surviving high-stakes transport runs.
Market Fees

The single most important concept for any flipper to internalize is fee structure. If you ignore it, you will lose money. The following table breaks down the costs you must overcome to turn a profit.
This means that for every silver piece you earn, the market takes its share. Your profit must be greater than this percentage barrier. Premium status is almost essential for serious trading, as the reduced tax significantly widens your profit margins.

There’s a second family of costs that’s easy to confuse: crafting station usage fees set by building owners. Those are independent of the marketplace and vary by city and station. They matter the moment you move from pure flipping into refining and crafting loops.
Flipping Mastery
Choosing Items

Don’t choose your flip items blindly. Ideal candidates have two key characteristics: high volume and stable prices. You want items that sell frequently and predictably.
- Start with Meta Items: Look for weapons, armors, and capes that are essential to popular activities like Corrupted Dungeons, the Mists, and small-scale ZvZ. These have consistent, reliable demand.

- Analyze the Volume: In the market window, check how many of an item have been sold recently. High volume means your orders will fill faster, turning your silver over more quickly.
- Calculate the Spread: The “spread” is the difference between the highest buy order and the lowest sell order. You need a spread wide enough to cover the fee and still leave you with a healthy profit. Use a Market Flipping Calculator tool.
The Flipper Mindset
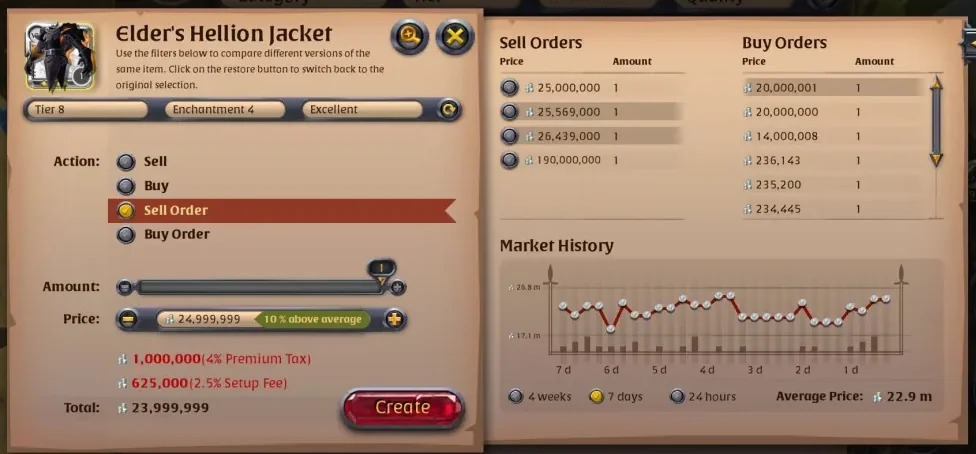
Stop staring only at the “lowest sell” and “highest buy.” Albion’s history graph and volume data are your truth serum. Watch the short-term average vs. last trades, then check whether the spread between buy and sell is wider than your total fee stack. If the spread can’t pay for setup + tax + your risk time, you’re subsidizing someone else’s flip. When the spread is healthy and volume is steady, you have a lane. When volume is spiky, you’re playing the timing game and need to place your order outside the 1-silver knife fight to avoid paying the setup fee ten times and donating your edge.
For price discovery beyond your own city, lean on community data scrapers. Albion Online 2D and Albion Free Market pull live price snapshots from the Albion Online Data Project so you can spot regional mispricings, validate your trade route math, and sanity-check whether a “deal” is just a ghost price in a dead market.
The most effective way to perform a real-time price check is to utilize the Travel Planner to visit each city’s marketplace personally. To do this efficiently and for free, you should travel “naked”—meaning you must have no items equipped and an empty inventory. This is especially critical for Caerleon, as the fast travel system strictly prohibits transporting any luggage to or from that city.
The Best Items to Transport to Caerleon
The highest demand items in the Black Market are flat (unenchanted) non-artifact armor and weapons between Tier 4 and Tier 6. Because players Craft these Items in massive bulk, the Black Market is designed to buy and “trash” huge quantities of them to maintain the game’s item sink.
Core Armor Pieces (Highest Volume)
Armor pieces sell significantly faster than weapons on the Black Market because every build requires a chest, helm, and boots, and armor archetypes are universally shared across multiple classes.
- Cloth Armor:
 Cleric Robes and Mage Robes have an incredibly high consumption rate because they are mainstays for solo, group PvE, and ZvZ DPS players.
- Leather Armor: Assassin Jackets (highly coveted for its invisibility skill in solo content) and Mercenary Jackets (for cheap PvE sustain) are top tier sellers.
- Plate Armor: Soldier Armor ( Fury stacks for bruisers) and Guardian Armor (pure tanking stats) move continuously.
- Universal Helmets/Boots: Hunter Hoods, Mage Cowls, Scholar Sandals, and Soldier Boots always have massive, active buy orders waiting to be instantly filled.
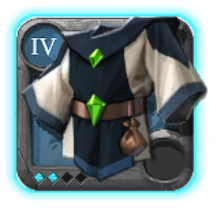 Cleric Robes and
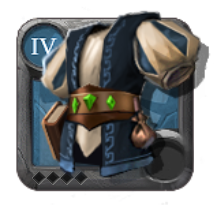 Mage Robes have an incredibly high consumption rate because they are mainstays for solo, group PvE, and ZvZ DPS players.
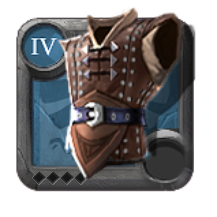 Assassin Jackets (highly coveted for its invisibility skill in solo content) and
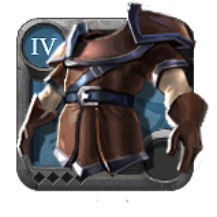 Mercenary Jackets (for cheap PvE sustain) are top tier sellers.
 Soldier Armor (
 Fury stacks for bruisers) and
 Guardian Armor (pure tanking stats) move continuously.
 Hunter Hoods,
 Mage Cowls,
 Scholar Sandals, and
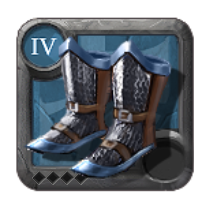 Soldier Boots always have massive, active buy orders waiting to be instantly filled.
Weapons
The Black Market struggles to move artifact items because they drop less frequently from open-world mobs. To move volume quickly, focus entirely on base-tree weapons.
- Swords & Axes: , Halberds, Broadswords, and Carving Swords are top-tier sellers due to their overwhelming popularity in PvE and Solo PvP.
- Bows & Crossbows: Bows, Longbows, and Light Crossbows move consistently since they are staples for low-risk dungeon clearing and faction warfare.
- Nature & Holy Staffs: Great Nature Staffs are highly targeted by the system to supply solo and group healer loot drops.
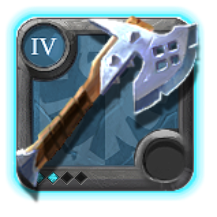 , Halberds,
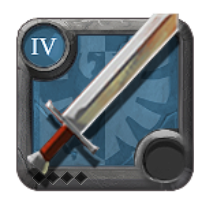 Broadswords, and
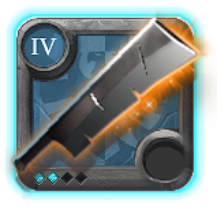 Carving Swords are top-tier sellers due to their overwhelming popularity in PvE and
 Bows,
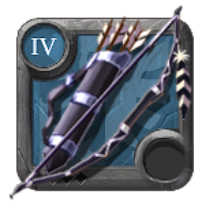 Longbows, and
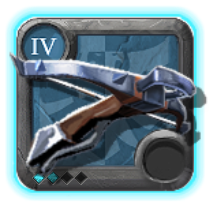
 Great Nature Staffs are highly targeted by the system to supply solo and group healer loot drops.
The Tier & Enchantment
Understanding how the Black Market pricing engine reacts to different tiers can make or break your margins:
- Tier 4 (.0 and .1): This is the absolute fastest-moving volume on the market. Mobs constantly drop T4 gear, generating endless automated buy orders. Margins are smaller per item, but you can sell thousands of pieces in a single evening.
- Tier 5 & Tier 6 (.0 and .1): The ideal “sweet spot” for transport runners. They offer high enough silver-per-weight value to justify an Ox or Ram transport run through the Red Zones, while still selling rapidly.
- Avoid High Enchantments (.3 and .4): High-enchantment items sell exceptionally slowly on the Black Market. Because .4 drops are exceedingly rare in the open world, your item may sit as a sell order for weeks before a mob generates a buy request for it.
The Best Flipping Build
To Escape gankers while Transporting items, especially when traveling through the Red Zones to Caerleon—you need a “double-dash” mobility build designed for pure survival.
| Slot | Item | Key Ability | Reasoning |
|---|---|---|---|
| Main Hand | 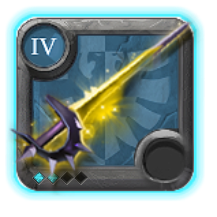 Bloodletter | 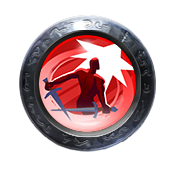 Deadly Swipe Dash Lunging Stabs | The ultimate escape weapon because it provides two powerful mobility skills, making it nearly impossible for gankers to pin you down if you time your cooldowns correctly. |
| Off-Hand |  Mistcaller with Bloodletter | Passive Cooldown | Decreases the cooldown of all active skills and dashes, allowing you to use them more frequently during a long chase. |
| Head |  Any Leather Hood |  Cleanse | Essential for instantly removing stuns, roots, or silences. This is often the first skill used after being dismounted to regain control. |
| Head (Alt) |  Guardian Helmet |  Emergency Shield | Provides an instant shield and removes “Damage over Time” (DoT) effects like poisons, which are commonly used by gankers to prevent you from remounting. |
| Body |  Assassin Jacket |  Ambush | Grants invisibility to drop player/mob aggro and stall for weapon cooldowns. Used to juke enemies by running in an unexpected direction while hidden. |
| Shoes | 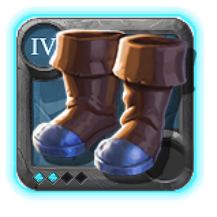 Miner Workboots | 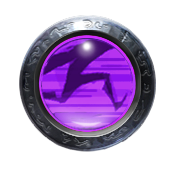 Flee | Provides a massive 120% movement speed burst for 10 seconds, the highest in the game. It is your primary tool for putting players off your screen. |
| Bag | 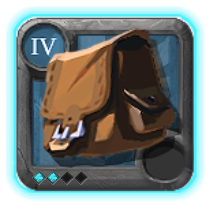 T4.2 Bag | More Weight | Increases your Max Load, allowing you to carry a larger volume of goods in a single trip. |
| Cape | 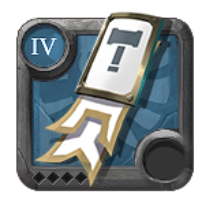 Fort Sterling Cape | Untouchable | Automatically cleanses the first CC effect that hits you, often preventing you from being dismounted in the first place. |
| Cape (Alt) | 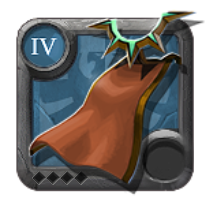 Undead Cape | Vanisher | Automatically turns you invisible when your health drops below 15%. It is a powerful “second life” if you are nearly caught. |
| Potion |  Invisibility Potion | Invisibility | Use it after using Miner Boots. It allows you to disappear when your other skills are on cooldown. |
| Food |  Pork Omelette | Cooldown Reduction | Increases the speed at which your mobility skills return, ensuring you aren’t a “sitting duck” for long. |
Tips for Efficient Flipping
- Do not flag for a faction, staying unflagged ensures that faction members from other cities cannot attack you, significantly reducing the number of hostile players you encounter.
- Choose an Expert’s Armored Horse, as it provides the best balance of speed and high defensive stats to tank damage if you are ambushed.
- Avoid high-capacity transport mounts like Oxen, which make you a slow, high-value target and increase your potential losses.
- To stay mobile, focus on flipping weapons, armors, and artifacts rather than heavy raw goods, as these high-value items take up very little weight.
- Most importantly, never reach 100% weight capacity; keeping your load light ensures that if gankers manage to dismount you, you can still use your “double-dash” build to escape on foot
Final Thought
Success in the economy comes down to minimizing your losses while maximizing your travel efficiency. As you become more comfortable with these routes and your “double-dash” mechanics, you’ll find that even the most dangerous zones become nothing more than a profitable highway.