You awaken from a long slumber, guided by a mystical spirit who provides your first flint tool and helps you craft your very own cart. Suddenly, you’re left directionless – a literal bum in grass clothing with not a single Hex Coin to your name, confused about what to do next in this vast, unfamiliar world. If this describes your early moments in BitCraft Online, take heart: every master artisan once stood exactly where you stand now, clad in simple grasses and filled with uncertainty.
This Beginner’s Guide will help you navigate BitCraft’s complex ecosystems and mechanics while immersing you in the game’s rich philosophy. I’ll share not just the “how” but the “why” behind game systems, helping you transition from that confused newcomer in grass clothing to a valued member of the BitCraft community.
First Steps in a New World
Essential Settings
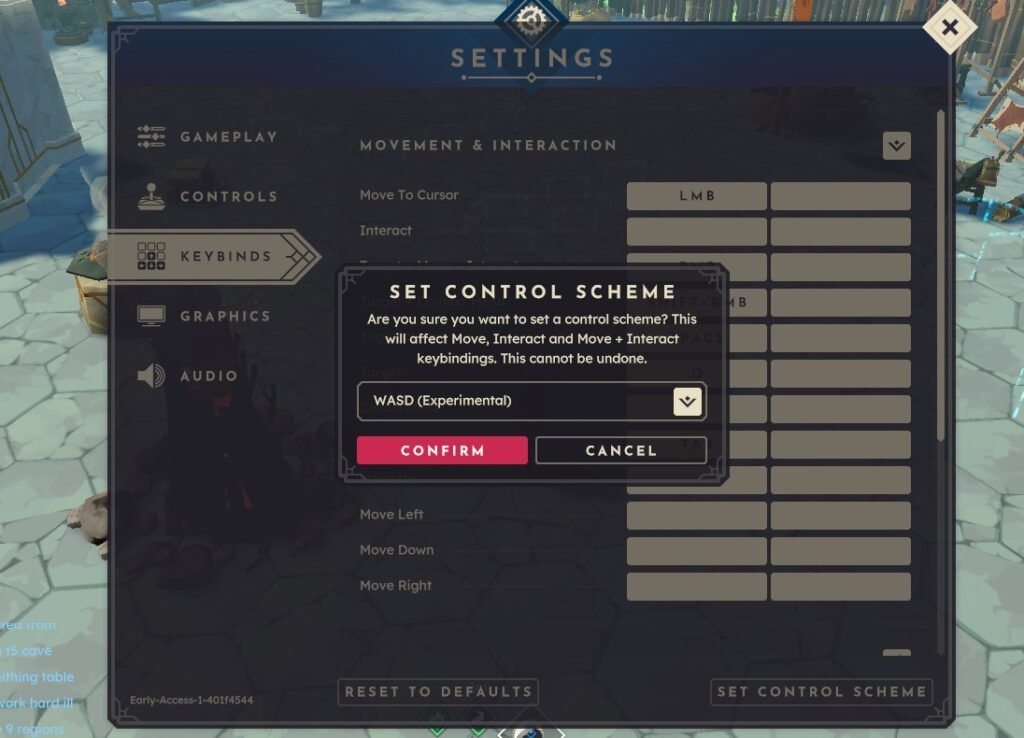
Before you dive too deeply into gameplay, take a moment to optimize your settings – these small changes can dramatically improve your experience:
- Enable Deployable Auras: This visual setting shows which storage units are connected to your crafting stations, saving you countless hours of frustration when trying to determine why a station won’t recognize resources you know you’ve gathered.
- Activate Click-to-Move: Found in the controls menu, this option provides an alternative navigation method that many players find invaluable for precise positioning, especially when working with tightly-packed crafting stations.
- Turn On Dark Mode: Located in graphics settings, dark mode reduces eye strain during those long crafting sessions that inevitably stretch into the night.
- Press ‘U’ to Highlight Interactables: While not a setting you toggle, remember that pressing ‘U’ highlights all workstations and clickable objects nearby – an absolute lifesaver in densely populated settlements where finding specific stations can feel like hunting for needles in a haystack.
The Critical Early Game

Your initial moments in BitCraft will be guided by a mystical Wisp that introduces you to the game’s fundamental mechanics through tutorial quests. While it might be tempting to rush through these or skip them entirely, following the wisp thoroughly is perhaps the single most important early-game decision you can make. These quests introduce concepts and mechanics that form the bedrock of your entire BitCraft experience, so give them your full attention.
During this tutorial phase, you’ll encounter one of the most crucial structures in the game: the Waystone at the center of the settlement. When prompted, make absolutely certain you set this as your “Home” location – this single action will save you immense time and frustration later. Your home Waystone serves as both your resurrection point when incapacitated and a free teleportation destination regardless of your energy levels, making it the anchor point from which all your adventures will radiate.
BitCraft’s Mechanics
Professions and Skills
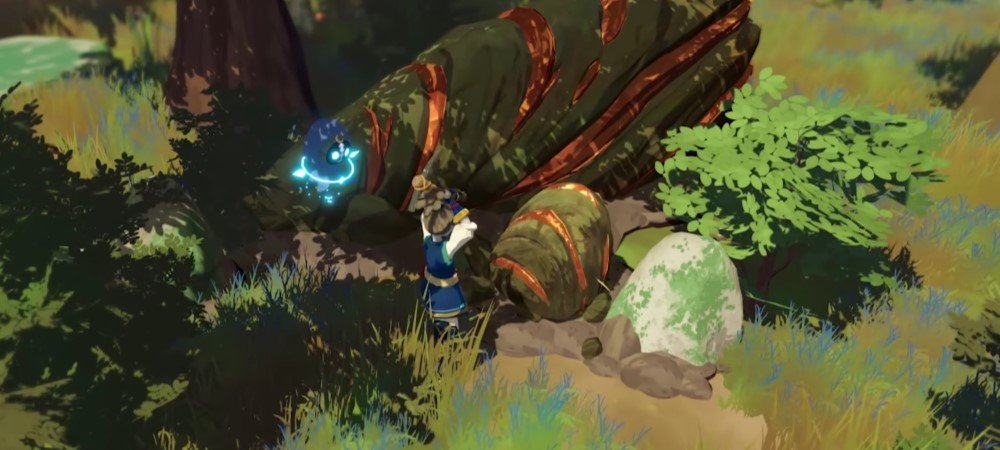
Skills
In BitCraft, personal character growth is driven by Skills, while economic and empire-building growth is driven by Professions. While professions require you to specialize to build up settlements, skills provide horizontal character upgrades like vehicles, mounts, and navigation that make your life easier regardless of your job.
Every skill is tied to an NPC known as a Traveler. You level up skills by performing direct actions or by completing tasks for these Travelers, which refresh every 4 hours. there is 6 Skills:
- Construction (The Builder – Brico): Leveled by completing tasks from Brico or building structures. Unlocks crucial transportation upgrades like carts and massive cargo wagons.
- Merchanting (The Merchant – Rumbagh): Leveled by completing tasks from Rumbagh. This is the only skill that allows you to found new settlements, place banks, and set up personal trading stalls anywhere.
- Sailing (The Sailor – Svim): Leveled by navigating the waters or completing tasks from Svim. Progressing allows you to buy, pilot, and upgrade various tiers of boats.
- Cooking (The Cook – Heimlich): Leveled by preparing food at cooking stations or completing tasks from Heimlich. Experimenting with ingredients unlocks special recipes that provide powerful stat boosts.
- Taming (The Tamer – Alesi): Leveled via Alesi tasks and moving on a mount. This skill allows you to tame and ride various mounts across the massive world.
- Slaying (The Slayer – Ramparte): Leveled by hunting down and fighting hostile monsters or completing tasks from Ramparte. It acts as your primary combat progression.
Professions
Professions are the highly specialized Gathering and Crafting roles that drive the player-run economy and fuel settlement building. Unlike Skills, which everyone levels up for personal utility, Professions require you to specialize because high-tier crafting requires massive amounts of time and resources.
| Profession | Role Category | Primary Role Description |
|---|---|---|
| Carpentry | Crafting | Saws and carves raw wood into planks, beams, and other wood products. |
| Farming | Gathering | Prepares and plants seeds, tends to crops, and harvests/processes farmed crops. |
| Fishing | Gathering | Catches and processes fish, and makes bait. |
| Foraging | Gathering | Finds wild resources such as mushrooms, fibers, flowers, and seeds. |
| Forestry | Gathering | Cuts trees, splits wood, plants saplings, collects sap, and makes charcoal. |
| Hunting | Gathering | Catches and harvests animals for resources like hides and meat. |
| Leatherworking | Crafting | Tans hides into leather and creates leather products and armor. |
| Masonry | Crafting | Works with stone and clay, making ceramics, mixing mortar, and cutting gems. |
| Mining | Gathering | Mines and processes rocks, gems, ores, and precious metals. |
| Scholar | Mixed | Advances settlement tiers and unlocks knowledge through ancient ruins and processing materials from all other professions. |
| Smithing | Crafting | Processes ore, smelts ingots, and creates metal tools, equipment, and weapons. |
| Tailoring | Crafting | Processes fibers into fabrics and strings, creating cloth products and armor. |
The Compendium
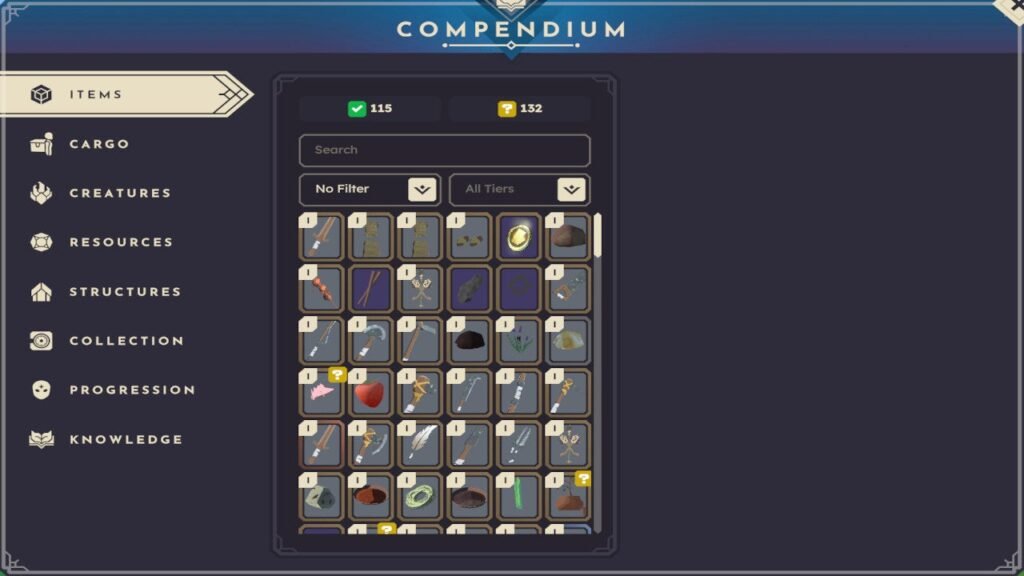
Early in your journey, you’ll discover the Compendium – essentially a Wikipedia localized to your character. This invaluable resource can be accessed by pressing ‘C’ and automatically logs every discovery you make, from resources and creatures to crafting recipes and their applications. But the Compendium is far more than a passive recipe book – it’s an active tracking system that helps you locate resources you’ve previously discovered.
When you find yourself needing a specific resource for a crafting project, open your Compendium, navigate to the Resources or Creatures section, select what you’re looking for, and click “Track.” This will create a persistent marker that helps guide you to that resource across gaming sessions. Just remember that you need to have discovered a resource at least once before you can track it, so early exploration remains critically important even with this powerful tool at your disposal.
Travel and Transportation
The Waystone
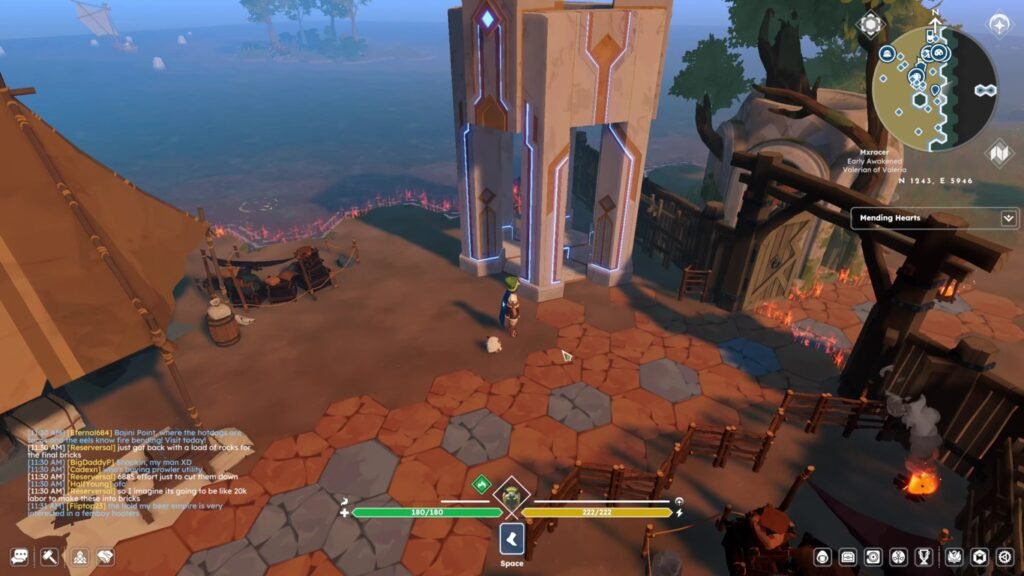
The Waystone network forms the backbone of travel and logistics throughout the known world of BitCraft. These ancient structures allow instant transportation between settlements and ruined towns, but they operate with specific limitations that smart players learn to leverage:
- Inventory Impacts Cost: The energy cost of teleportation directly correlates to how many items you’re carrying. Traveling light isn’t just a convenience – it’s an economic necessity.
- Vehicle Restrictions: Waystones won’t teleport your cargo, carts, wagons, boats, or mounts. You’ll need to store these in your vault before teleporting, then retrieve them at your destination.
- The Home Exception: Regardless of other limitations, “Teleport Home” always costs just ONE energy, no matter what you’re carrying. This exception makes your designated home settlement the perfect hub for operations.
Carts and Mounts
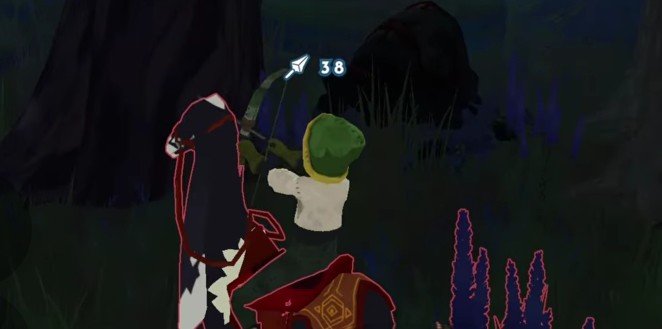
Early in the tutorial, you’ll craft your first cart – a humble beginning to your transportation needs. This cart allows you to carry up to 10 cargo-type items, dramatically increasing your gathering efficiency by reducing back-and-forth trips. Use Shift+V to quickly deploy or store your cart, making it easily accessible when you need it most.
As you progress, you’ll unlock access to more advanced transportation options. At Tamer Level 5, you can access owl pets through the gacha system, and at Tamer Level 10, you’ll unlock a goat mount. While the goat might not be the speediest option available, it has undeniable charm with those floppy ears – and sometimes style matters as much as substance in a world you’re helping to build from the ground up.
Efficient Progression Strategies
Specialization
While you might feel tempted to try mastering every profession simultaneously, BitCraft’s design actively encourages specialization over generalization. As the developers note, “Your average player will only be deeply skilled in 1 or 2 different skills since there’s only so much time they can devote to the game and it’s more rewarding to be highly skilled in at least 1 area”.
This specialization creates a natural ecosystem where players must collaborate to achieve their goals. A master smith might produce the finest tools in the land, but they’ll still need leatherworkers for protective gear, tailors for crafting clothes, carpenters for wooden components, and farmers for specialized materials. This interdependence forms the foundation of BitCraft’s player-driven economy and makes social connections as valuable as any material resource.
Settlement Life
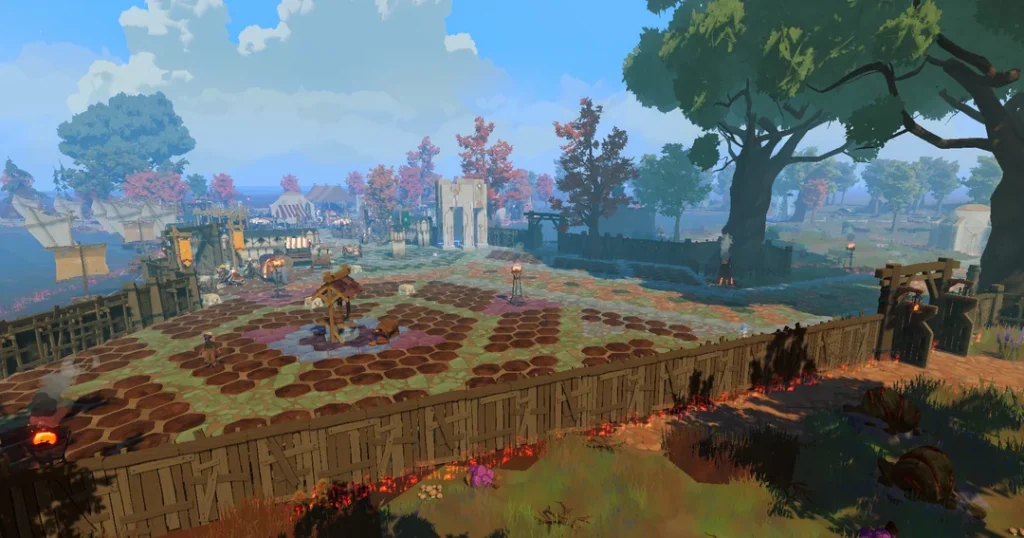
One of the most transformative steps you can take in BitCraft is joining or establishing a settlement. While you can make a personal claim and build a modest base, participating in a settlement community unlocks exponentially greater possibilities. Settlements allow for specialization, shared resources, and collective advancement that simply aren’t possible for solo players.
The Scholar profession deserves special mention in settlement contexts – often considered the “Settlement Leader’s Profession,” it requires rare materials and byproducts from all other professions to create Scholar Codexes necessary for improving a Settlement Claim’s Tier. If you enjoy coordination and have a strategic mindset, this might be your calling; if not, finding a settlement with a dedicated Scholar should be a priority.
Storage and Inventory Management
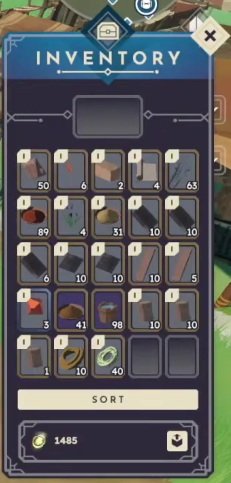
As you gather resources and craft items, you’ll quickly discover that inventory management is a critical skill in BitCraft. Your personal vault serves as the cornerstone of this system, with several features that might not be immediately obvious:
- Default Deployables: You can set specific deployables (like your cart) as defaults for quick deployment using Shift+V.
- Cosmetic Storage: The vault allows you to hide specific gear pieces like hats or store armor sets for both practical storage and cosmetic purposes.
- Linked Storage: Crucially, storage within range of crafting stations (including vaults and carts) counts toward resource availability when crafting. Proper placement creates efficient workshops.
At Merchant Level 5, you’ll unlock access to a personal storage chest with significant capacity. This expansion to your storage capabilities can dramatically reduce teleportation costs and organization headaches, making it a worthwhile early goal for players of all professions.
Combat Fundamentals
Understanding Armor Specialization
While BitCraft de-emphasizes combat compared to traditional MMORPGs, conflict still exists in the world – and being prepared makes all the difference. The game features three distinct armor types, each optimized for different activities:
- Metal Armor: Provides combat bonuses, making it essential for hunters and those venturing into dangerous territories.
- Leather Armor: Increases movement speed and gathering efficiency, perfect for resource collectors and transporters.
- Cloth Armor: Boosts crafting speed and provides additional crafting stamina, ideal for artisans spending long hours at stations.
Smart players maintain multiple armor sets and develop the habit of switching gear based on their current activity – the few seconds it takes to change outfits can save hours of inefficient effort over time.
Combat Tactics
Even if you don’t specialize in hunting, you’ll occasionally need to defend yourself against wildlife or other threats. When combat becomes necessary, remember these proven tactics:
- Terrain Exploitation: Animals frequently get stuck on cliffs and near water edges. Lure dangerous creatures into these areas and let your arrows do the work from safety.
- Aquatic Advantage: Some creatures like jackals cannot swim and won’t heal during combat. Use water features as regenerative safe zones during extended engagements.
- The Pebble Path: Don’t overlook those seemingly insignificant pebbles – they can be broken down into gems and eventually crafted into rings that provide valuable stat bonuses. This multi-step process exemplifies BitCraft’s philosophy of finding depth in seemingly simple systems.
Economy and Social Advancement
Making Your First Hex Coins
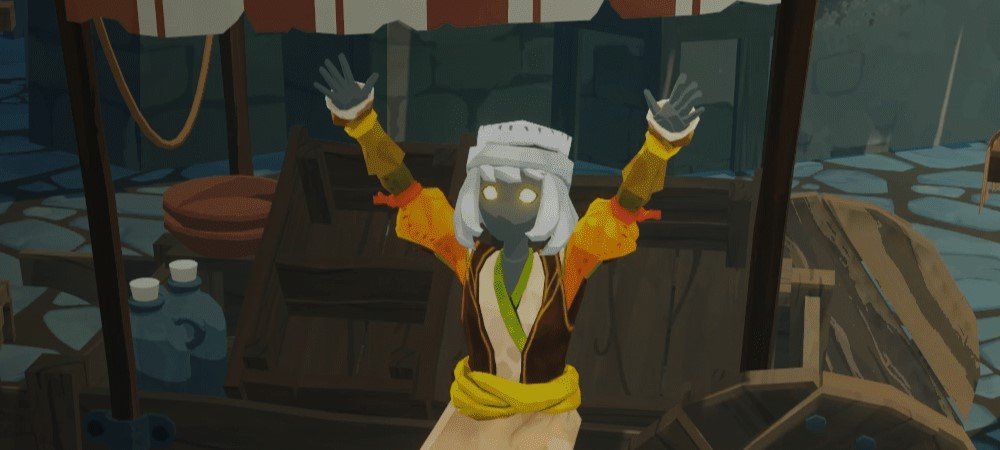
BitCraft features a player-driven economy where specialization creates natural markets. As you progress, you’ll discover numerous ways to generate wealth:
- Market Flipping: Check local markets for cheap materials, then transform them into completed tasks for the Travelers to earn easy coin.
- Leveraging Specialization: As you master your chosen profession, you’ll be able to produce higher-tier goods that less specialized players need but cannot efficiently create themselves.
- Settlement Contributions: Many thriving settlements offer rewards or salaries to players who consistently contribute to collective advancement, particularly for hard-to-master professions.
Empire Membership
Beyond individual settlements lies the concept of Empires – larger affiliations that can provide identity, protection, and resources. To join an Empire, visit a settlement that belongs to one, click on its token, and use the Empire Tab to request membership. The benefits can be substantial, ranging from free gear (many Empires provide welcome packages including capes) to access to specialized infrastructure and trading networks.
Tips for a Beginner
As you move from complete novice to established resident of the BitCraft world, keep these principles in mind:
- Embrace Interdependence: The most successful players actively build networks of contacts across different specializations rather than trying to be self-sufficient.
- Progress Logarithmically: Understand that leveling follows a logarithmic curve – the early levels come quickly, but higher levels require exponentially more experience. This makes broad shallow proficiency easier to achieve than deep specialization.
- Value Multiple Progression Paths: Remember that skills represent just one way to progress in BitCraft. The developers note that “Players can also progress by amassing wealth or items, through changing the landscape to suit their needs, through building advanced buildings and towns, or building up a network of social connections and relationships”.
- Teleporting with Full Inventories: The energy cost makes this economically unsustainable. Always store goods before teleporting.
- Ignoring the Compendium: This tool becomes increasingly valuable as you discover more resources. Make tracking your standard practice for frequently needed materials.
- Underestimating Social Connections: BitCraft is fundamentally a social experience. Players who isolate themselves miss half the game’s potential.
Final Thoughts
Remember that confused newcomer in grass clothing, directionless with an empty wallet? That phase passes more quickly than you might imagine. Each tree you chop, each ore you mine, each field you plant represents not just progression points but another stitch in the rich tapestry of a civilization you’re helping to build from the ground up.