There’s a moment in every healer’s journey when you realize you’re no longer just a support character – you’re the conductor of the battlefield’s symphony. As your fingers tighten around the Life Staff, divine energy coursing through its ancient wood, and your other hand feels the chilling whisper of the Void Gauntlet, you understand the true power of balance. This is the essence of the Divine Arbiter, a build that masterfully weaves together the preserving light of nature and the debilitating darkness of the void. You are not merely a healer; you are a strategic force who sustains allies while systematically dismantling enemy formations through calculated decay.
In the ever-evolving meta of New World, this weapon combination has proven itself as one of the most versatile and powerful support build available. The philosophy is elegantly simple yet profoundly impactful: the Life Staff provides unmatched healing output and defensive utility, while the Void Gauntlet offers exceptional offensive support and crowd control. What makes this pairing truly exceptional is the shared attribute scaling – both weapons benefit from Focus, creating a synergistic relationship that maximizes your effectiveness without spreading your attributes too thin. This isn’t just a build; it’s a statement of strategic intent – the understanding that true battlefield control comes from both preserving your allies and strategically weakening your enemies.
Attribute Distribution

Your attribute distribution forms the foundation of your effectiveness with this build. As both weapons scale with Focus, this becomes your primary investment focus. However, Intelligence enhances your Void Gauntlet damage, while Constitution ensures necessary survivability.
- 300-400 Focus: This threshold unlocks the most impactful Focus perks, including significant healing bonuses and mana regeneration. These bonuses dramatically enhance both weapons’ effectiveness.
- 100-150 Intelligence: Reaching this benchmark provides substantial damage and scaling for your Void Gauntlet abilities without sacrificing too many attribute points.
- 50-100 Constitution: The remaining points should be invested in Constitution based on content difficulty and personal skill level. PvP generally requires more investment than PvE.
Weapon Masteries
Life Staff
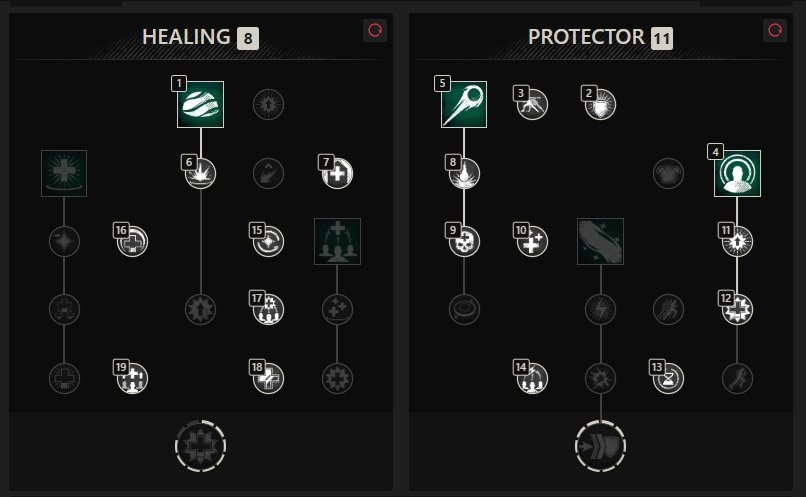
The Life Staff serves as your primary healing tool for keeping allies alive through intense encounters. For this build, we focus on abilities that provide maximum healing and utility.
 Orb of Protection: This ability provides a burst of healing with long-lasting healing over time effects and fortify to reduce damage taken. It’s excellent for preemptive healing before damage occurs.
- Sacred Ground: This essential ability creates a healing zone on the ground that provides substantial healing over time to allies within its area. The Fortifying Sacred Ground perk adds damage reduction, making it invaluable for sustaining tanks during heavy damage phases.
- Beacon: This projectile ability attaches to allies or surfaces, creating a healing area that moves with players or remains stationary. It’s particularly effective when placed on frontline melee players who move through the battlefield.
The basic ability rotation begins with  Sacred Ground placed on your tank or melee allies. Follow with
  Beacon on frontline players or key areas. Use
  Orb of Protection to provide additional healing and damage reduction. This sequence establishes consistent healing before transitioning to Void Gauntlet for utility and damage.
Void Gauntlet
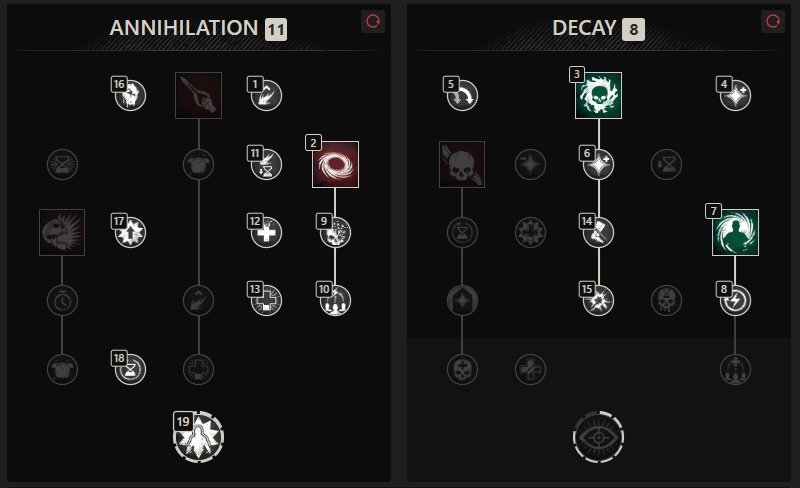
The Void Gauntlet serves as your primary utility and offensive weapon, offering exceptional debuffing capabilities and supplementary healing. For this build, we focus on abilities that complement the Life Staff’s healing focus.
- Orb of Decay: This projectile ability applies damage over time and reduces enemy armor. When it returns, it heals you and your allies. It can be detonated for increased damage or healing depending on its position.
- Oblivion: This ability creates an area-of-effect field that damages enemies while empowering allies and increasing their stamina regeneration. The Nullifying Oblivion perk allows it to remove buffs from enemies, making it invaluable in PvP.
- Essence Rupture: This ability damages enemies while allowing allies to heal for a percentage of damage dealt to the target. It’s particularly effective on bosses or high-health targets.
Your Void Gauntlet rotation typically begins with  Oblivion placed on grouped enemies or allies. Use
  Orb of Decay to apply debuffs to enemies or healing to allies. Apply
  Essence Rupture to high-priority targets for additional group healing.
Gear, Perks, and Heartrune
Best-in-Slot Gear and Critical Perks
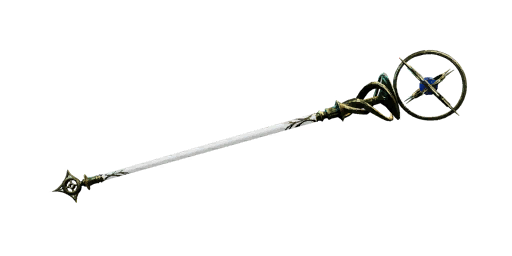
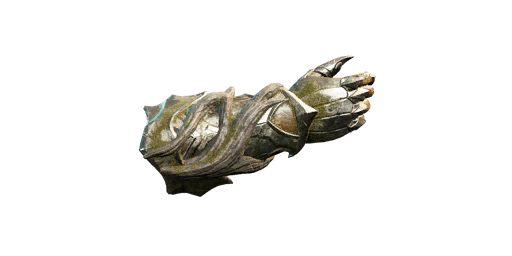
Choosing the right weapons and perks dramatically impacts your effectiveness. For Life Staff, prioritize healing output and cooldown reduction perks, while for Void Gauntlet, focus on utility and debuff duration.
- Life Staff Perks: Blessed (increased healing), Refreshing Move (cooldown reduction), and Mending Protection (increased AoE healing).
- Void Gauntlet Perks: Nullifying Oblivion (buff removal), Putrefying Scream (healing reduction), and Keenly Jagged (bleed on crit).
- PvP Perks: Health (increased HP), Shirking Heals (self-healing), Freedom (reduced crowd control duration), and Elemental Aversion (elemental damage reduction).
 Mending Protection (increased AoE healing).
 Nullifying Oblivion (buff removal),
  Putrefying Scream (healing reduction), and
  Keenly Jagged (bleed on crit).
 Freedom (reduced crowd control duration), and
  Elemental Aversion (elemental damage reduction).
Jewelry Perks Selection

| Jewelry Piece | Perk Name | Description |
|---|---|---|
| Amulet |  Health | The standard pick for all builds; provides free health for defensiveness. |
 Stamina Recovery | Provides a burst of stamina when taking heavy damage, allowing for a potential quick dodge and survival. | |
 Thrust Protection | Offers defense against thrusting weapons like Bows, Muskets, Spears, and Rapiers. | |
 Slash Protection | Offers defense against slashing weapons like Greatswords, Great Axes, Hatchets, and Swords. | |
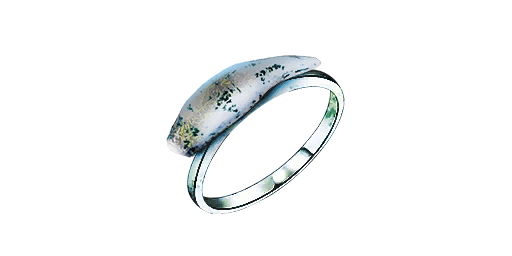
| Ring |  Sacred | Increases healing output; a high-priority perk, especially for healers. |
 Healing Breeze | Provides free additional healing over time. | |
Purifying | An alternative option that provides some self-healing potential. | |
Blessed | Functions similarly to Sacred; increases healing output. | |
 Refreshing | Reduces all ability cooldowns. | |
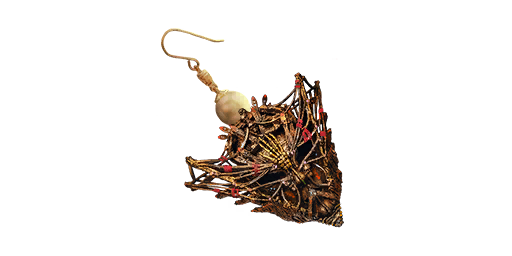
| Earring | Refreshing Toast | Reduces the cooldown of health and mana potions. |
Healthy Toast | Increases the amount of health restored by health potions. | |
 Healing Heart | Provides additional self-healing. | |
Nimble | Increases the speed of stamina regeneration after a dodge. | |
Refreshing | Reduces all ability cooldowns. |
Heartrune: The Stoneform variants remain the premier choice for this build, particularly in PvP. The ability to break out of crowd control effects and remove debuffs is invaluable for a build that relies on positioning and ability usage. The Stalwart Heartrune of Stoneform offers defensive buffs plus significant healing over time, while the Cunning Heartrune of Stoneform provides similar utility with different secondary benefits.
The Perfect Engagement Sequence
Mastering the Life Staff and Void Gauntlet requires understanding the flow of combat – when to prioritize healing, when to apply offensive pressure, and how to transition seamlessly between your two weapons. A perfectly executed engagement unfolds with a distinct tempo:
- Opening Setup: Position yourself with a clear line of sight to both your frontline and the enemy formation. Use terrain features for cover when possible, but maintain the mobility to adjust as the battle evolves. Identify priority healing targets and key enemy threats before committing your abilities.
- Initial Engagement: As contact occurs, place Sacred Ground on your frontline or objective point to establish a zone of advantage. Follow immediately with Beacon on a frontline melee player or directly on the enemy formation to create additional healing presence. Use Orb of Protection to provide fortify and additional healing to allies pushing forward.
- Weapon Transition: Once your Life Staff abilities are deployed, weapon swap to your Void Gauntlet. Place Oblivion on the frontline to empower your allies and weaken enemies. Follow with Orb of Decay aimed through the enemy formation to apply armor reduction and set up the healing return. Apply Essence Rupture to high-priority targets to provide lifesteal to your damage dealers.
- Cooldown Management: As your Void Gauntlet abilities are active, use light attacks to build Void Essence stacks. When you reach 4+ stacks, use a heavy attack to trigger Glimpse of the Void and reset your Void Gauntlet cooldowns. This allows you to place a second Oblivion or reapply your other abilities much sooner than normally possible.
- Reset and Reposition: Swap back to your Life Staff as your initial abilities expire or as healing needs demand. Use the cooldown reduction from Revitalize passive by weaving light attacks between heals to get your abilities back more quickly. Reposition based on the flow of battle, always maintaining awareness of enemy threats and ally positions.
Final Thoughts
Mastering the Life Staff and Void Gauntlet combination represents more than simply learning a build—it embodies a philosophy of balanced support where preservation and decay exist in harmonious equilibrium. This build rewards strategic thinking, situational awareness, and adaptability, offering satisfaction that extends beyond mere healing numbers. As you progress with this combination, you’ll discover nuances and techniques that make it uniquely your own, refining your approach through experience and experimentation.
The true strength of this build lies in its versatility and comprehensive support capabilities. Unlike specialized builds that excel in specific scenarios while struggling in others, this combination remains effective across virtually all content types.